
Special Offer: The Composite Tutorial Bundle!
Create your composites like a pro after watching these powerful Photoshop tutorials!


- Master the art of blending together new and exotic backgrounds for your subjects.
- Be able to use adjustment layers and blend modes at the top of your layer stack to bring your subject & background together in a cohesive look.
- Find out how to use lighting to bring life to your composites!
- See how adding extra elements to your composites can dramatically alter the mood and feel to an image.
- Learn how adding foreground elements add a tremendous depth and realism to a piece.
Instant Access to Eight Pro Photoshop Tutorials for just $47 $7!
Plus, get 4 BONUS tutorials on extractions, for Free!
Composite Tutorial Bundle – Eight Pro Photoshop Tutorials:
Struggling with your composites? What better way to learn than by seeing how top artists do it?
Close Your Eyes And Remember by CJM
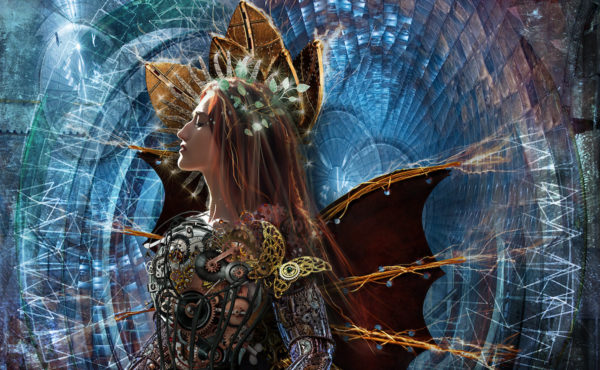
In this Photoshop tutorial, Caroline Julia Moore shows you how she created the abstract fantasy background and how she built the model’s armor using lots of carefully selected elements. By carefully placing elements and strategically adding shadows and highlights, the armor comes together, giving this piece its unique and powerful look.
Wonder Woman by Bernard Taylor

Bernard Taylor shows all the steps he took in creating this fantastic image of Wonder Woman! You will see how he blends together a custom desert background using images of sand dunes and sky. Then, watch as Bernard adds blur, foreground elements and gradient maps to complete the artwork.
Halo by Jason Hahn

In this Photoshop tutorial, Jason Hahn shows you how he created this image from basic photos of 4-inch toy figures from the video game, Halo. Watch as Jason puts together a great sci-fi background and uses back-light and highlights on the helmets to bring the whole piece to life!
Wind Rider by Gail Edwards
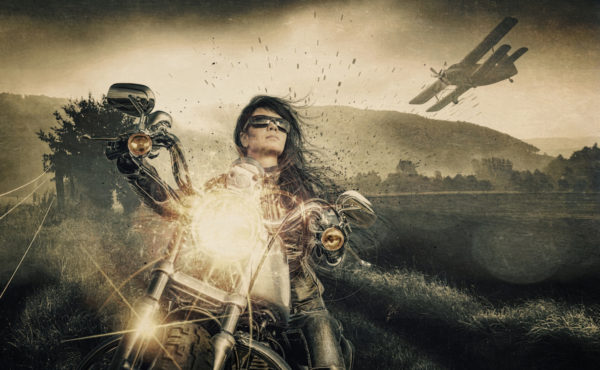
In this tutorial, Gail Edwards presents the steps she took to create Wind Rider. She brings the elements together, blurs and blends accordingly, adds light using fractals, and then dodges and burns and adds a few finishing touches to complete a grungy overall look.
The Girl Who Cried Wolf by Katie Watersell
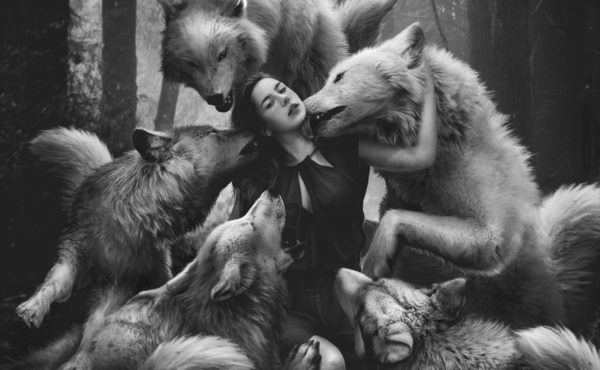
In this Photoshop tutorial we take a look at a piece by Katie Watersell called The Girl Who Cried Wolf. Bringing together a series of stock photos of wolves, along with two model images, Katie creates this incredible piece. By presenting the image in black and white, Katie can really emphasize the textures and lighting.
The Last Resort by Bunty Pundir
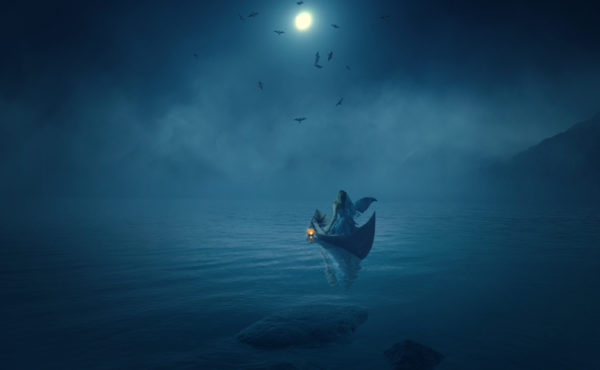
In this Photoshop tutorial, Bunty Pundir shows you how to create a dark, mysterious and eerie scene of a girl alone in a canoe. He’ll use some essential techniques to build a dark and misty scene using a variety of stock images. You will also learn how to use displacement maps to create reflections in the water.
Swimming Moonlight by Robert Cornelius

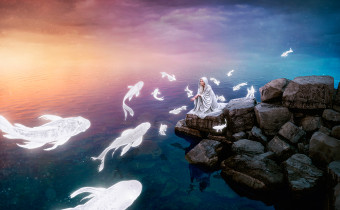
In this Photoshop tutorial Robert Cornelius shows us how he created one of his latest pieces called Swimming Moonlight. First watch the speed edit showing you the entire process condensed down to six minutes! Then, watch the two-part video tutorial where he explains the steps he took. Follow along as he paints in amazing colors and unifies the look of his fish using layer effects applied to groups of layers.
Dark by Jenny Le

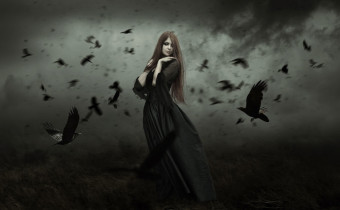
In this tutorial Jenny Le shows you how to create a dark and emotional photo manipulation. You will learn how to combine different stock images, practice dodging and burning, apply texture, enhance the atmosphere and create an intense effect with stock images of black birds and debris. Her final touch is to use Color Balance and a Gradient Map to bring it all together.
Happy Shift Art members:
I have learned a TON just from the first couple of tutorials I’ve found time to do. It’s the best teaching site for Photoshop and compositing that I’ve ever found.
– Kimberly G, Shift Art Member
Seeing amazing works of art deconstructed in a way that is easy to understand encourages me to try new things. Getting a clear idea of the thought process the artist went through in creating the work helps me realize that it’s possible to take what I see in my minds eye and make it visible to others.
– Michelle M, Shift Art Member
I enjoyed these so much that I signed up as a lifetime member.
– Gary K, Shift Art Member
BONUS: Get Four Extra Bonus Tutorials on Extractions! ($36 value!)
If you take this offer right now you’ll also receive these four tutorials about extracting subjects from their background!
Extraction with Channel Mask
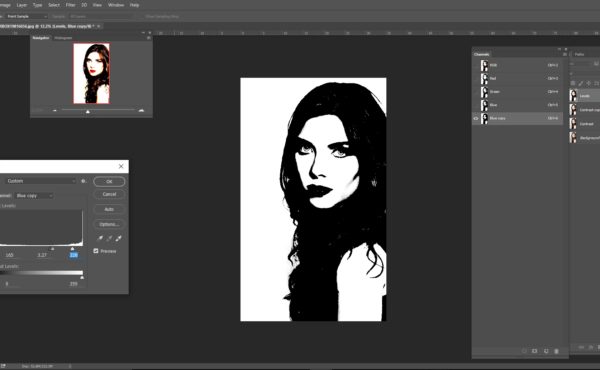
In this tutorial Caroline Julia Moore shows how to use channels to create a mask for extracting a model and placing her on a new background. Plus, learn a cool trick from Caroline’s toolbox showing her Multiply blend mode method to quickly clean up dirty extractions!
Photoshop Select & Mask by Caroline Julia Moore
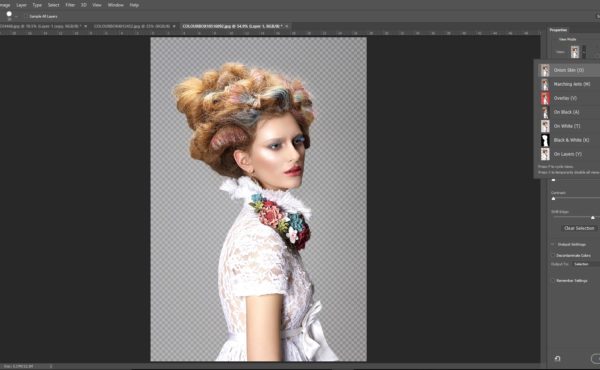
One of the biggest changes in the latest Photoshop update is the release of the Select and Mask work space. The Select and Mask area has replaced Refine Edge in Photoshop CC 2015.5. In this tutorial, Caroline Julia Moore explores the new features and challenges the new tools to cope with some difficult selections.
Extracting Models with Topaz Labs ReMask

Topaz Labs ReMask 5 makes light work of extracting images; even images with high demands on extraction. Watch as Caroline Julia Moore expertly uses this plugin to extract two difficult masking challenges: wild hair and semi-transparent material!
How to Extract Hair & Feathers by Parée Erica
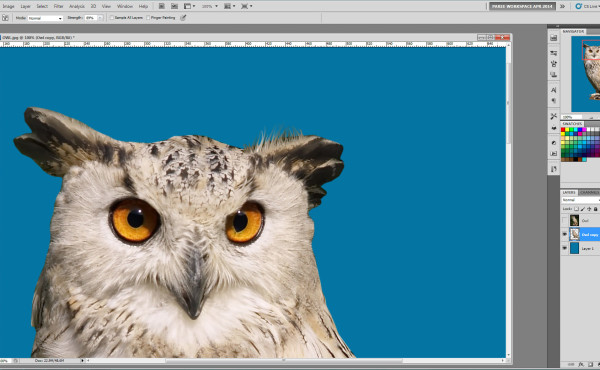
In this tutorial Parée Erica shows her method of extracting difficult subjects with hair, feathers, and fur. Here she prepares an owl to be used in the Magical Swan Lake tutorial.
Get Instant Access to Eight Tutorials, PLUS Four Bonus Tutorials!
30 Day Money Back Guarantee
Try it risk free for 30 days: If you are not 100% satisfied with your purchase, simply let me know and I’ll give you a full refund – no questions asked.