Add Fog or Mist to Your Image

There are different ways to create fog and mist in Photoshop. Clinton Lofthouse’s tutorial showed how to use photographs of clouds. In this mini tutorial we will be using Gradients and the Render Cloud Filter.
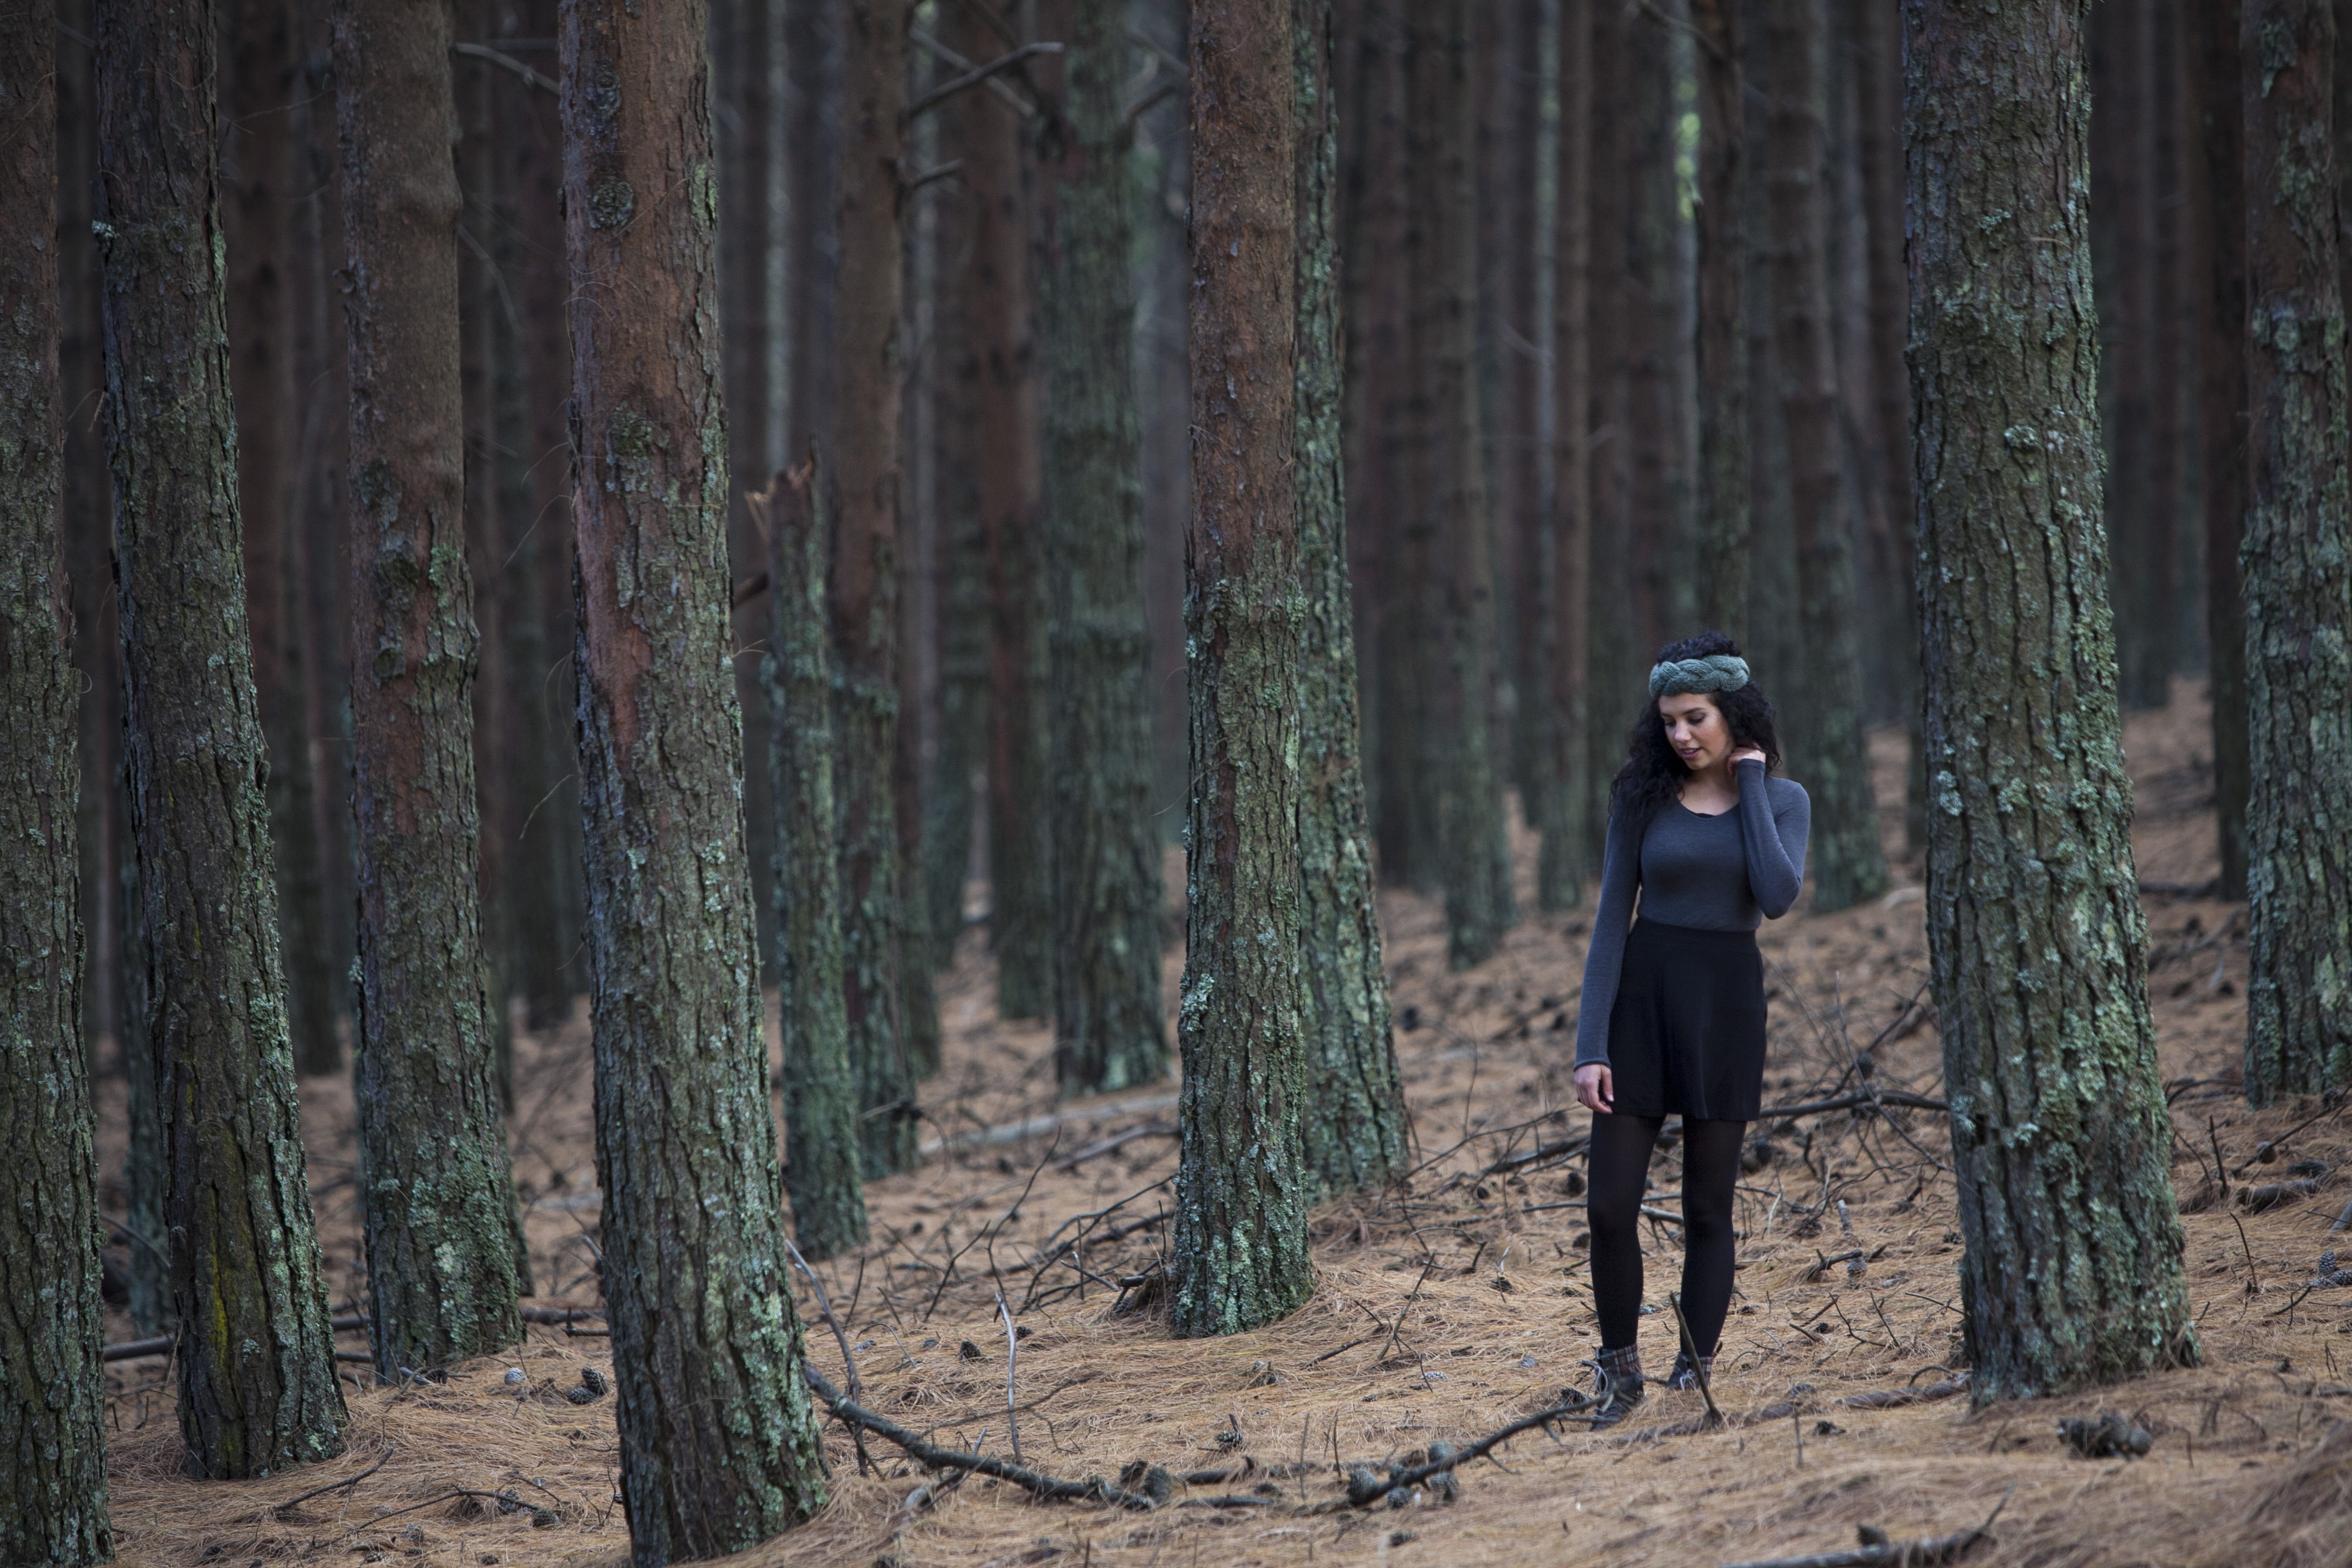
Let’s start with the image below, which is from Pixabay. You can download it yourself here.
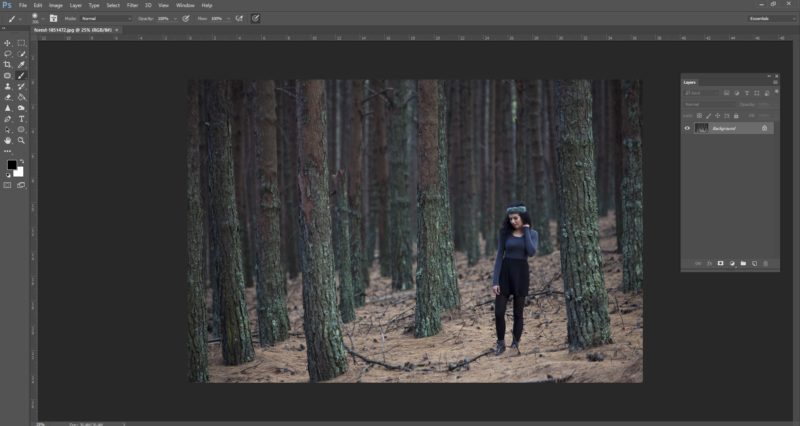
Set the Foreground to white and the Background to black. Go into the Layer Menu, New Fill Layer, Gradient.
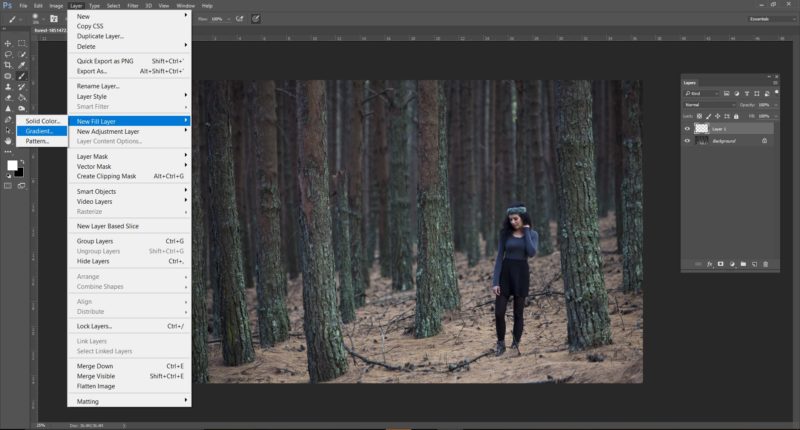
Select the ‘Foreground To Transparent’ option from the gradient presets.
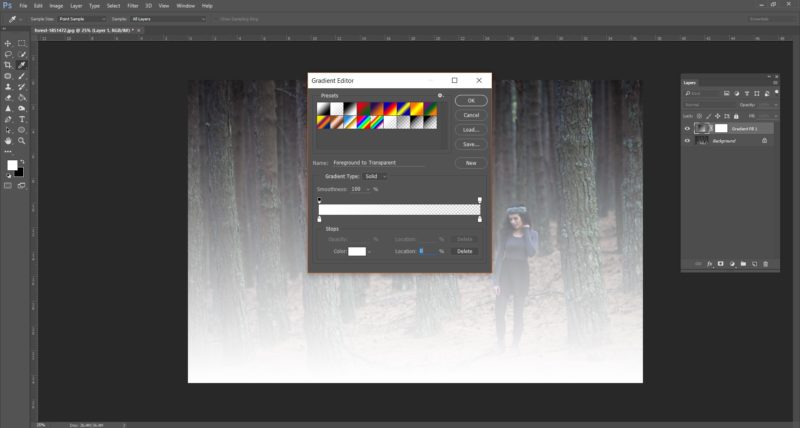
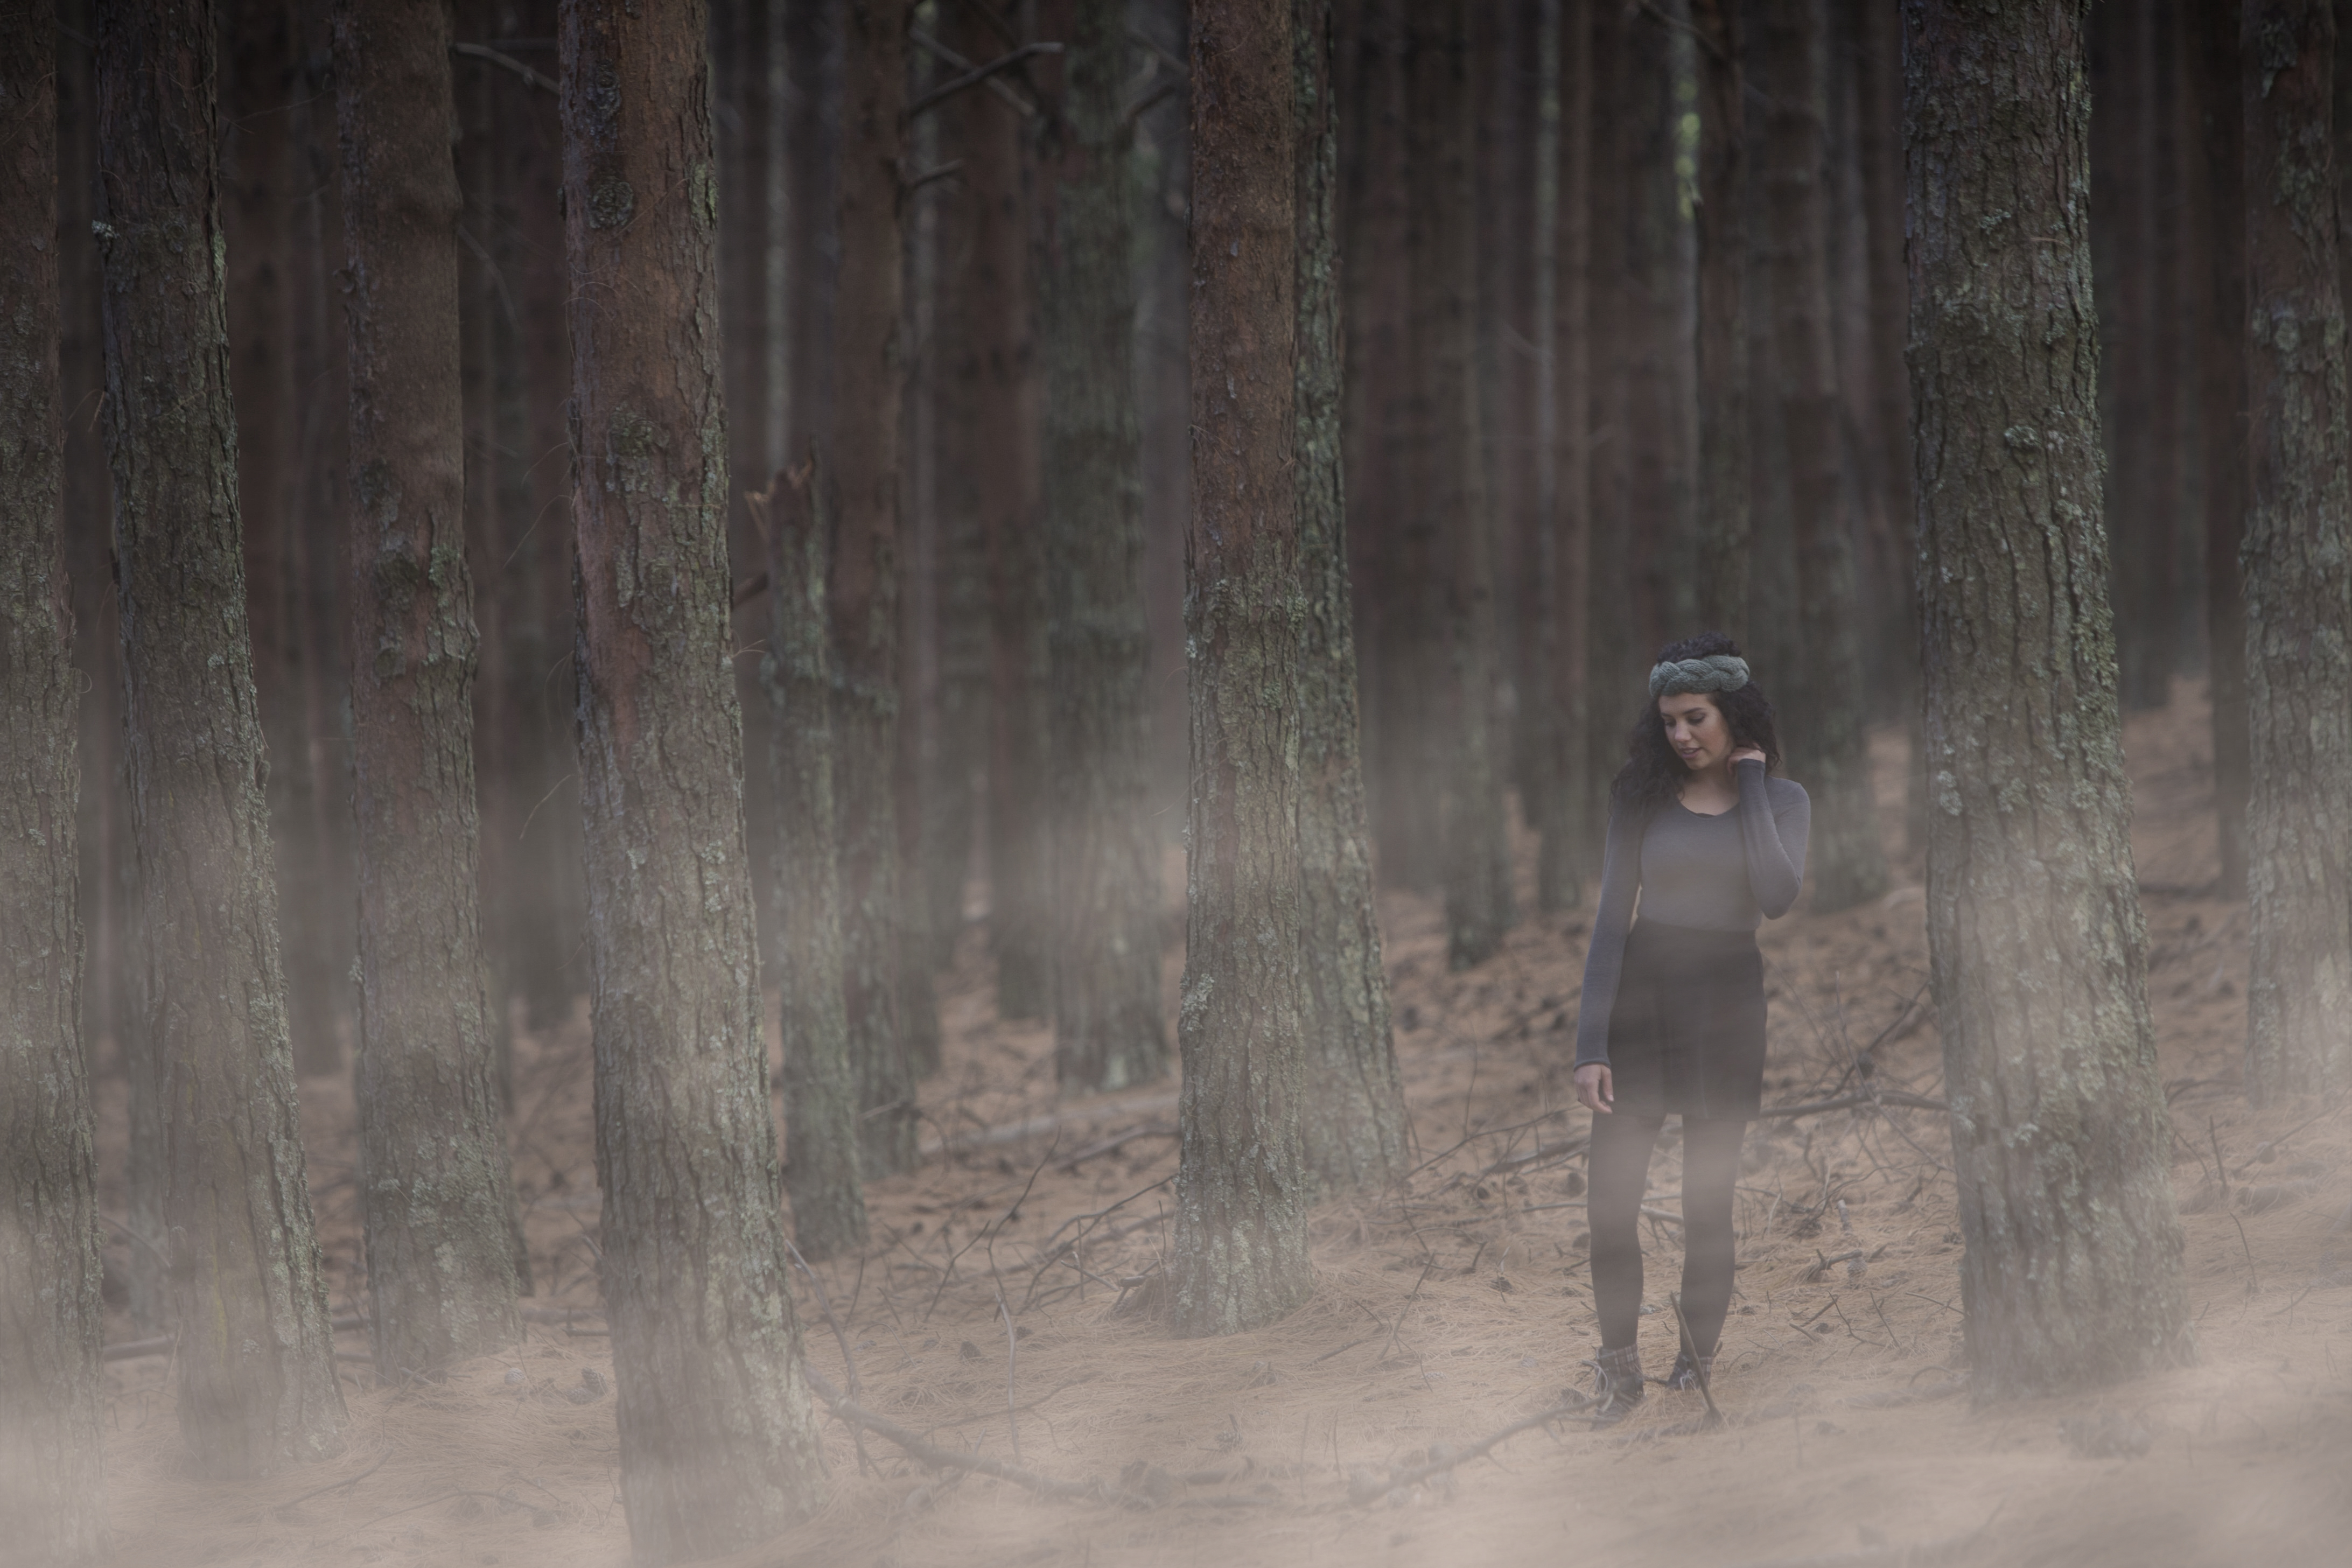
The gradient gives the effect of fog rising from the ground.
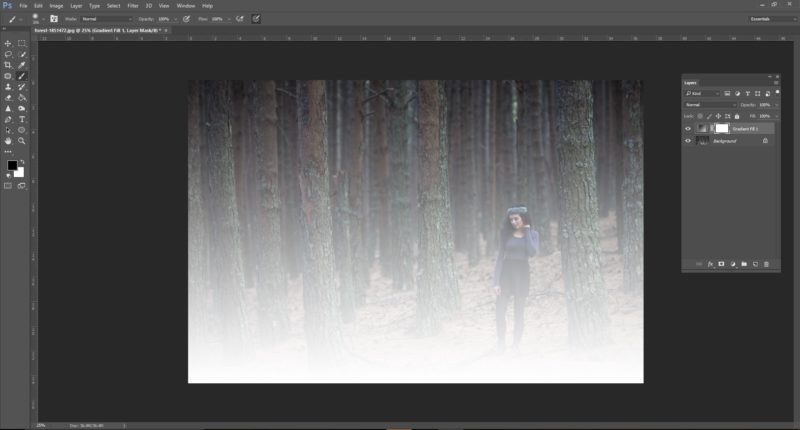
Paint on the Layer Mask with a low opacity, soft black brush to make the fog look more realistic. Vary the size of the brushes.
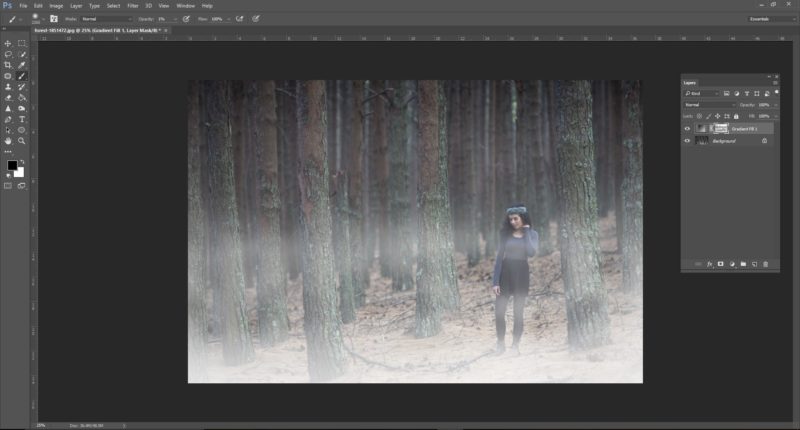
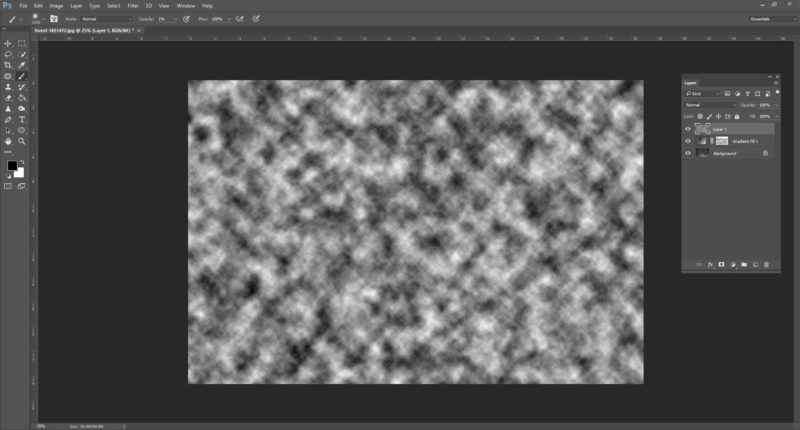
Next we will add in some mist with extra depth and variation. Add a new, empty layer, and open the Filter Menu. Select Render, then Clouds.
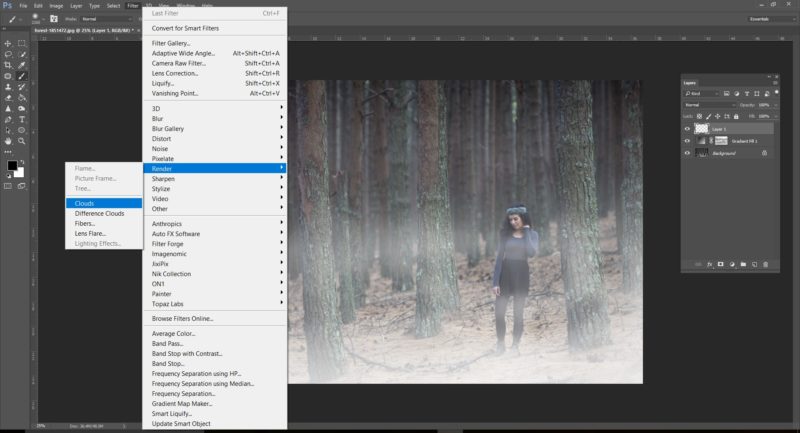
The layer will look something like this:
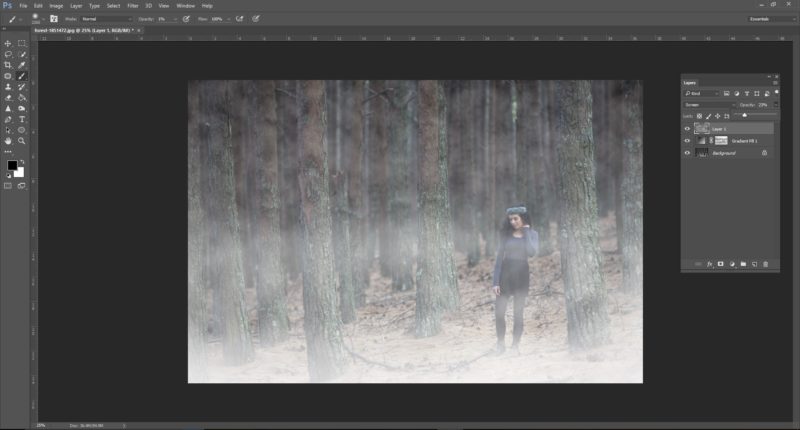
Set the Blending Mode to Screen and lower the opacity.
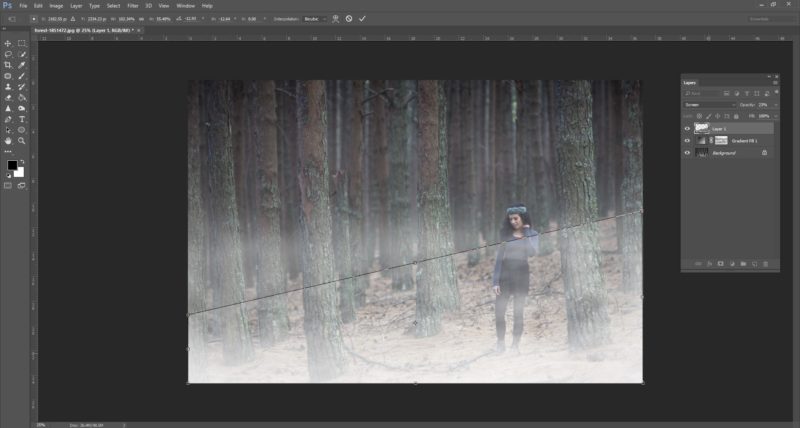
The effect doesn’t have to be across the whole image. You could, for example, add a Layer Mask or Transform the layer and change perspective. Here, I have used CTRL T to Transform, and then used Distort to fit to the slop of the ground.
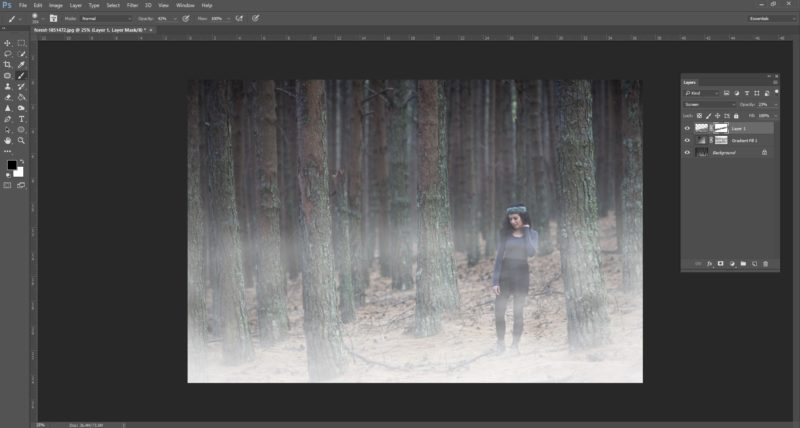
You may need to add a Layer Mask to blend the effect and get a smoother transition.
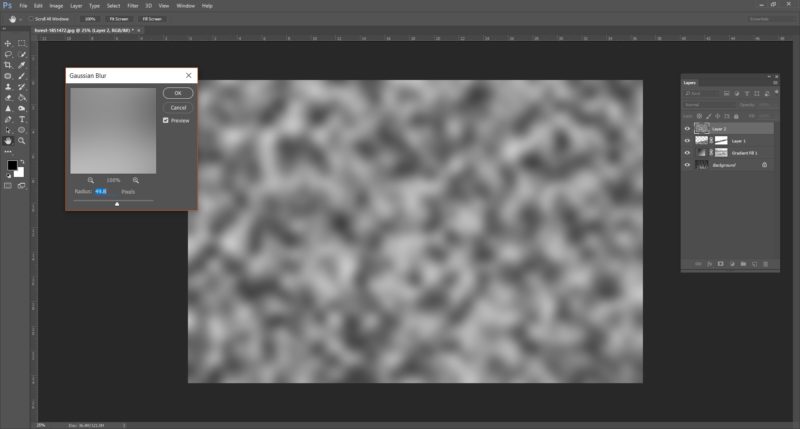
You can stack Rendered Layers. Try applying a Guassian Blur Filter.
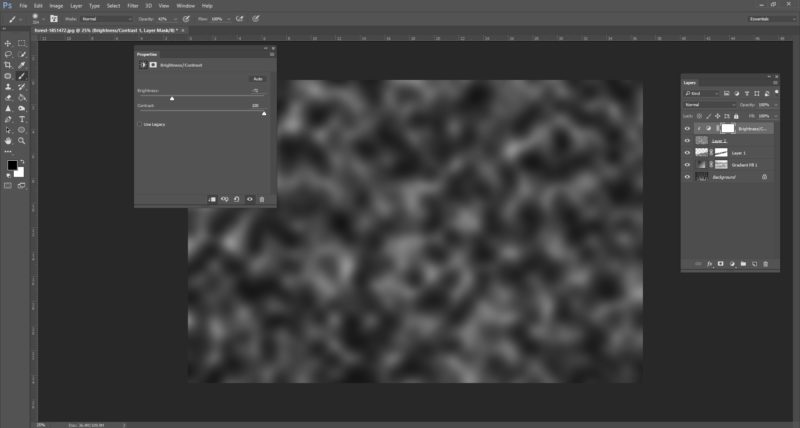
And increasing Contrast.
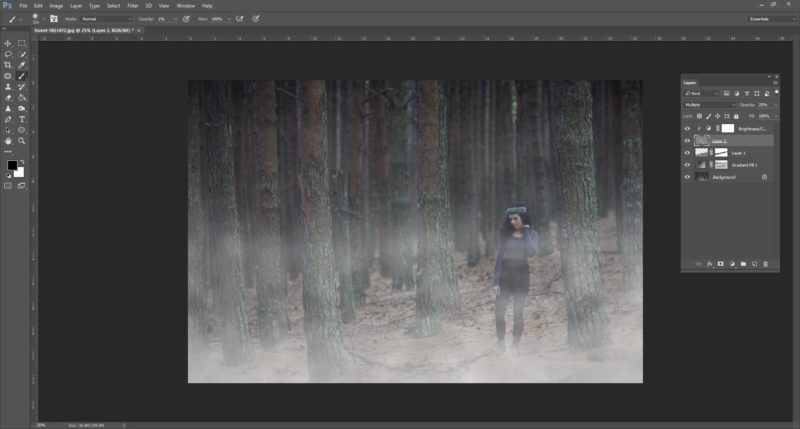
You can use Multiply Blend Mode (as I have here, on this new layer) to add darker areas.
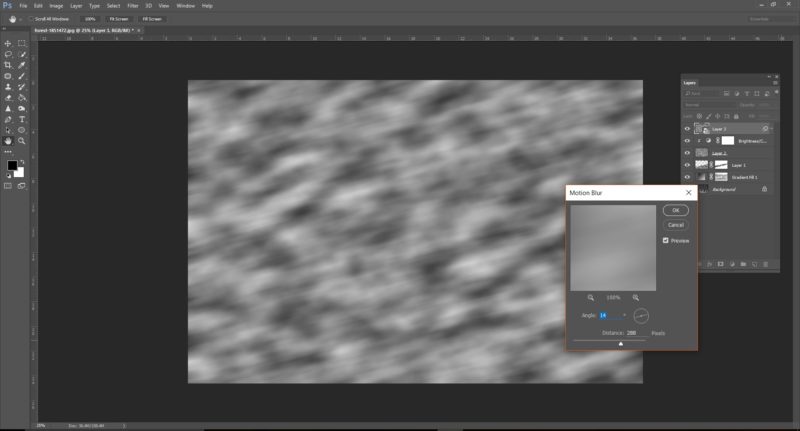
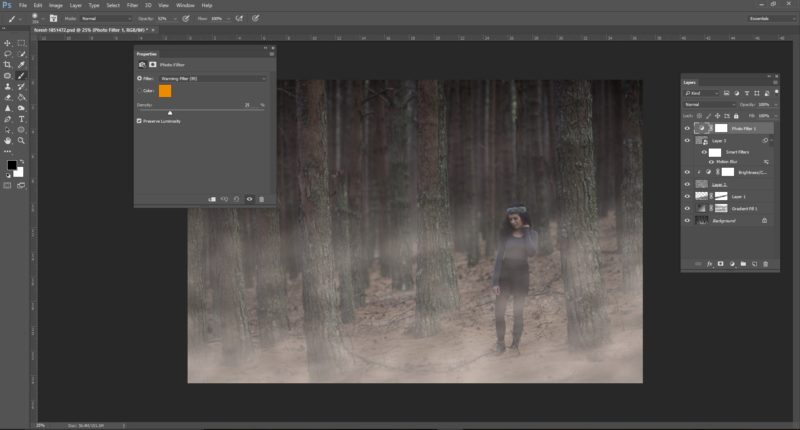
Indeed, you can experiment with creating different densities and shapes using various blurs. Try Motion Blur:
Unify the image by adding adjustment layers, such as a Photo Filter.
Access this tutorial, plus 143 more: Join Base Camp!
Access our entire library of Base Camp Photoshop tutorials for life!
Join Base Camp!Already a Base Camp or Summit Member? Log in to view this!


Great demo
I love it!!! Thank you!