Correcting Color Using Auto Options in Photoshop – Part 1

Part 1: Auto Tone, Contrast, and Color
This article is going to describe how using Auto Tone, Contrast, and Color to correct and/or improve an image. These options are within the Image Menu in Photoshop and are one-click automatic fixes. Whilst you cannot adjust the parameters of these, it can be useful to try them. The Auto options all work by using adjustments determined by color channels.
Final Image:
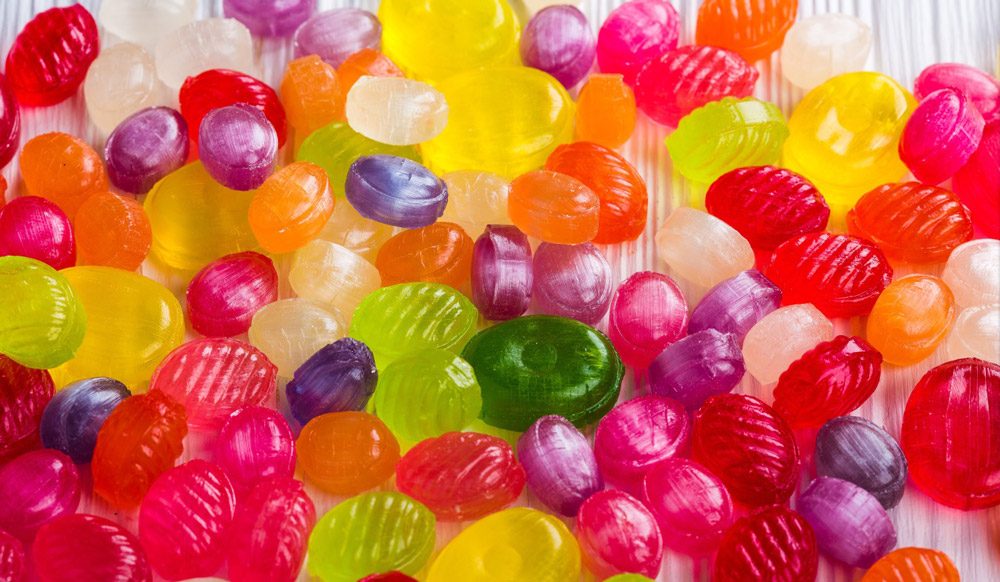
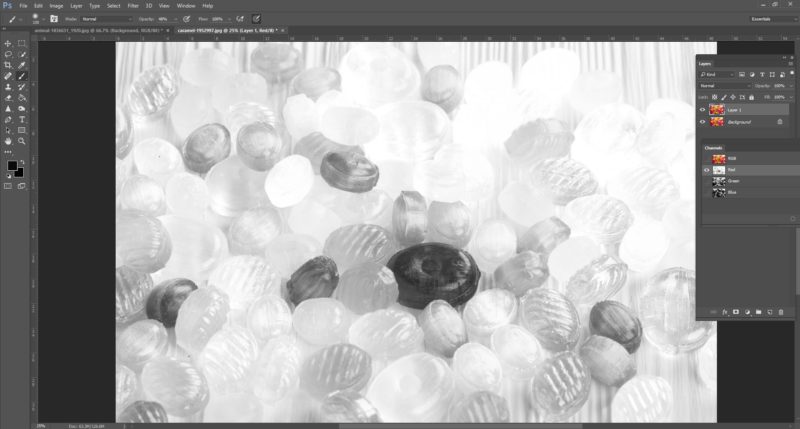
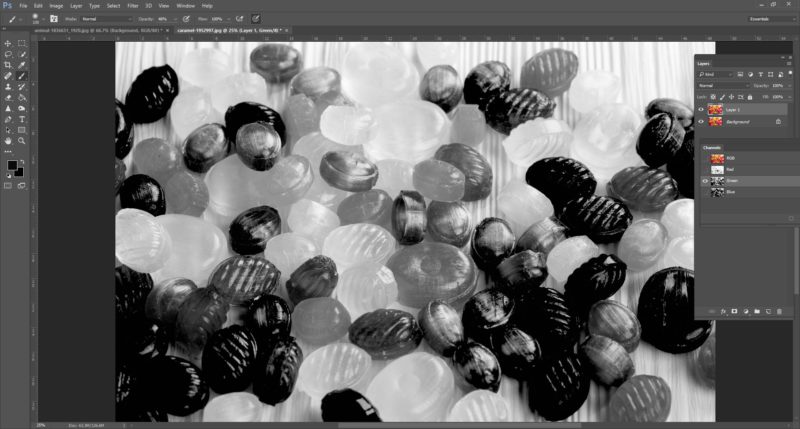
Let’s think about how color works in Photoshop. Every color we see in Photoshop is a mix of 3 channels: Red, Green, and Blue (RGB). The strange part is that Photoshop does not actually see these as colors; each channel is shown in grayscale. It helps to think of how white and black work. If all 3 colors are put together at the highest saturation then you get white. Completely desaturating each will give you black.
The values of each RGB channel ranges from 0 to 255 (no color to full saturation). Although each channel shows these in grayscale, it is like a map of how much saturation of each channel is present in each point. For example a value of 0 means no red is present and 255 means the highest saturation of red is present. Every color we see, at each pixel, is determined by the combination of values for each channel.
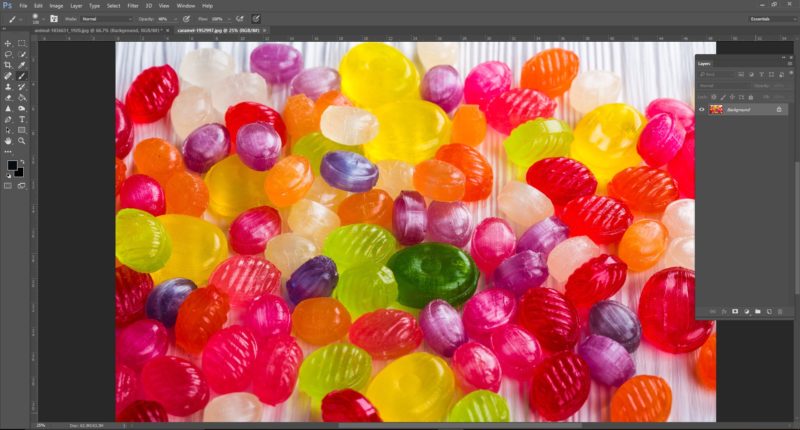
Look at the image below from pixabay. This is the RGB image:
Here is the same image shown in the Red channel:
The Green channel:
And the Blue channel:
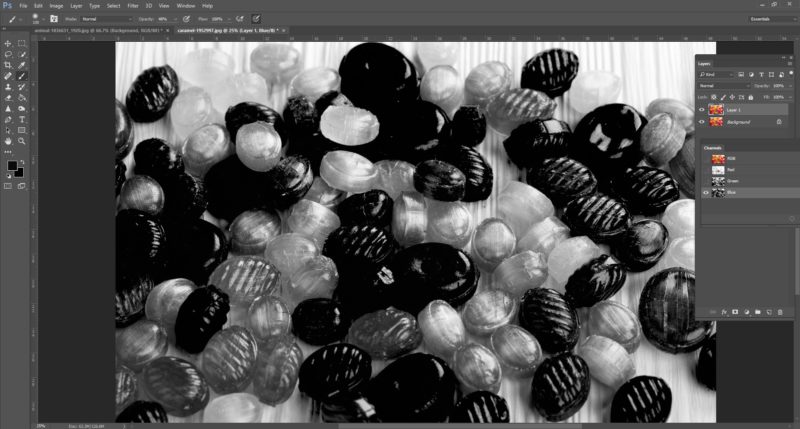
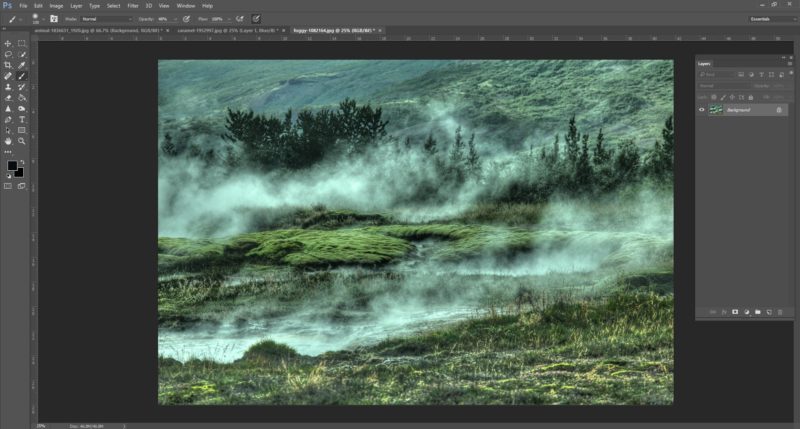
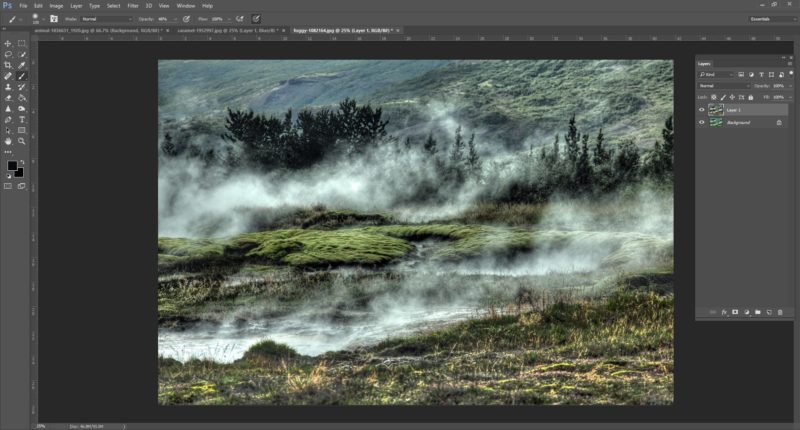
Auto Tone is a good first point of call to correct color casts in an image. It works by setting the darkest pixels of an image to pure black (0), and the lightest pixels to pure white (255). The values in between (i.e. 1 – 254) are redistributed to fit this threshold. This is done for each channel, thereby altering the way that colors are mixed together.
Let’s look at the example below. It is a beautiful image but is very much dominated by a green cast.
With Auto Tone applied it looks like this:
Auto Contrast is used to give images more impact. It also sets the darkest pixels to pure black, the lightest to pure white, and redistributes the values in between. However, this is applied to all channels taken together (imagine a merged RGB image). Therefore, this option should be used on images that do not need color correction. Highlights will be lighter and shadows darker.
The image in the screenshot below is low in contrast and rather flat.
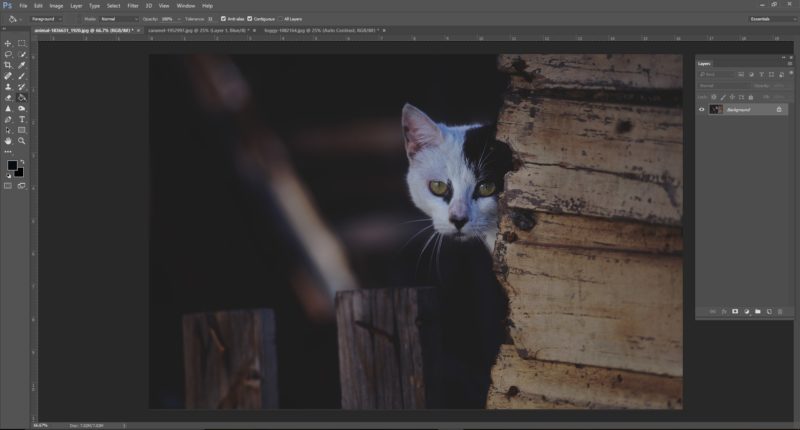
The difference is very noticeable when Auto Contrast is added.
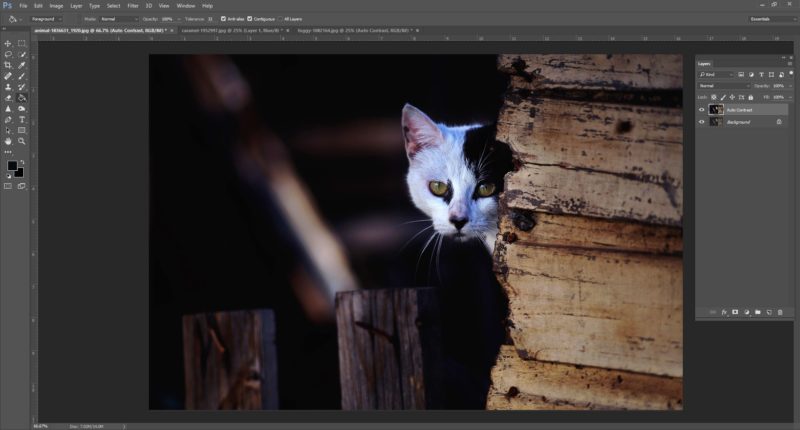
Auto Color can help to correct contrast and color. It starts off using the adjustments for Auto Tone (i.e. contrast adjustments in each channel). But instead of redistributing the tonal values along a continuum, it neutralizes the midtones, using a target color of RGB 128 gray. The image above has clearly been improved with Auto Tone. However, you can see in the original image that there is a slight color cast to it (a reddish-brown hue). So let’s try applying Auto Color to the original image.
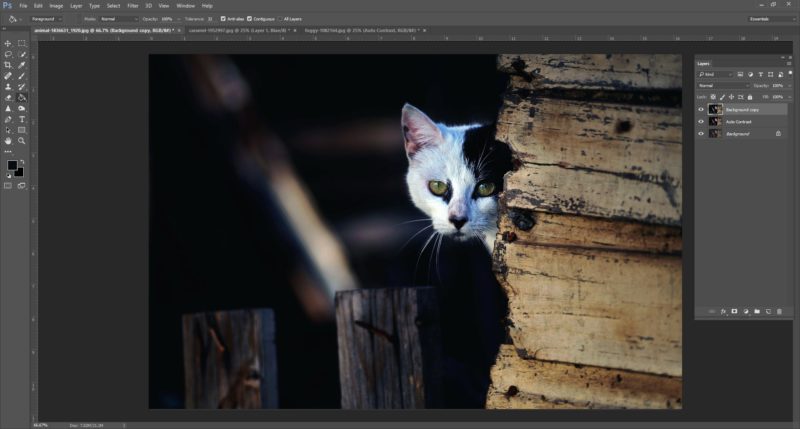
You can try stacking these auto corrections and applying different blend modes and opacities to alter the look of your images. To learn more about blend modes, see ShiftArt’s Intro to Photoshop Blend Modes tutorial, or for a more advanced use of blend modes and opacities, check out the tutorial Toward the Dark.
Please feel free to add any questions or comments below. We’d love to hear form you.
Access this tutorial, plus 143 more: Join Base Camp!
Access our entire library of Base Camp Photoshop tutorials for life!
Join Base Camp!Already a Base Camp or Summit Member? Log in to view this!
Very informative
very knowledgeable thank you for sharing this knowledge
How do I open these articles it just brings me to the comment page? Pleas help.
Technical snafu! Please try loading the page now 🙂
Good information, useful looking forward to learning more