Stargazing by Parée Erica

Quick Tip from Full Tutorial:
Add Color Dynamics with Solid Color Fill Adjustment Layers.
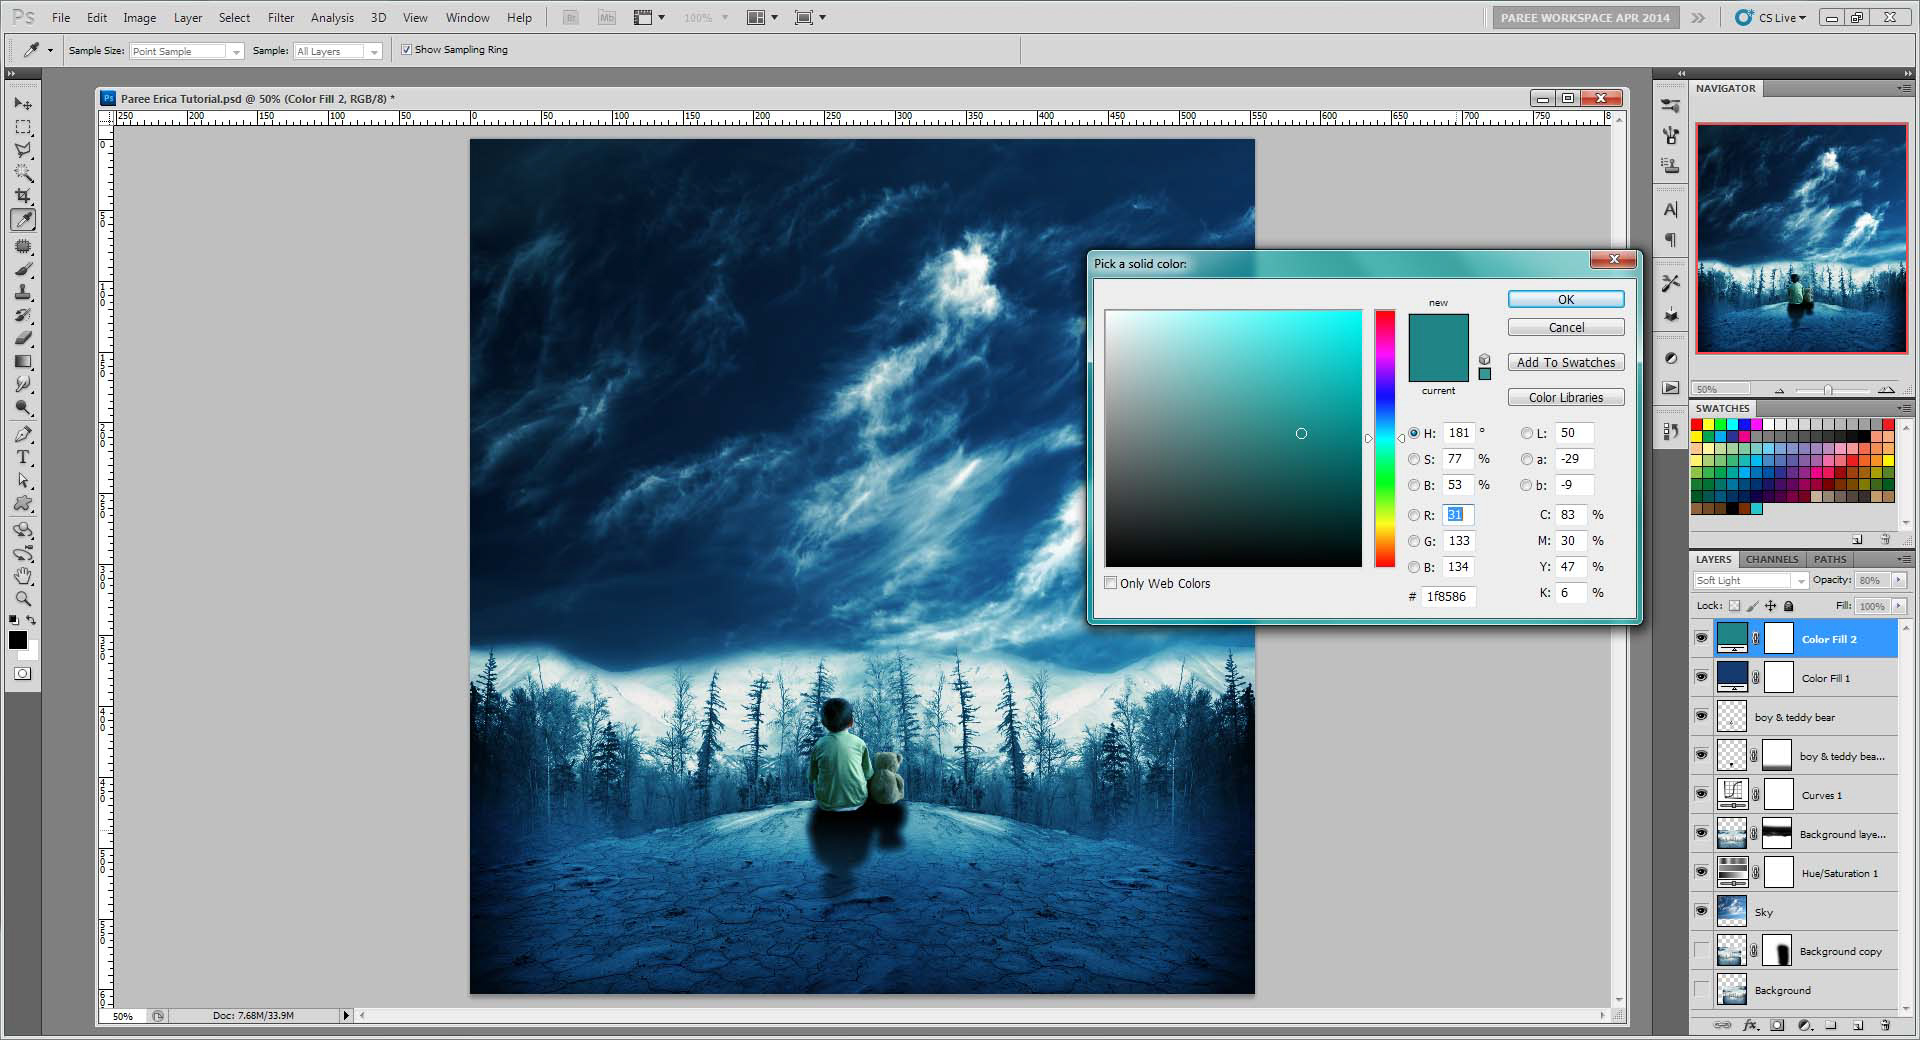
One way to alter the color toning of your work is to stack Solid Color Fill adjustment layers. Try different opacities and blend modes. In this image, Parée creates a deeper blue with cyan tones by adding 2 layers. The 1st uses color 143b6f, set to Overlay at 60% opacity. The 2nd color is 1f8586, set to Soft Light at 80% opacity.
Here you can see the effect of this simple procedure:


Full Tutorial Preview:
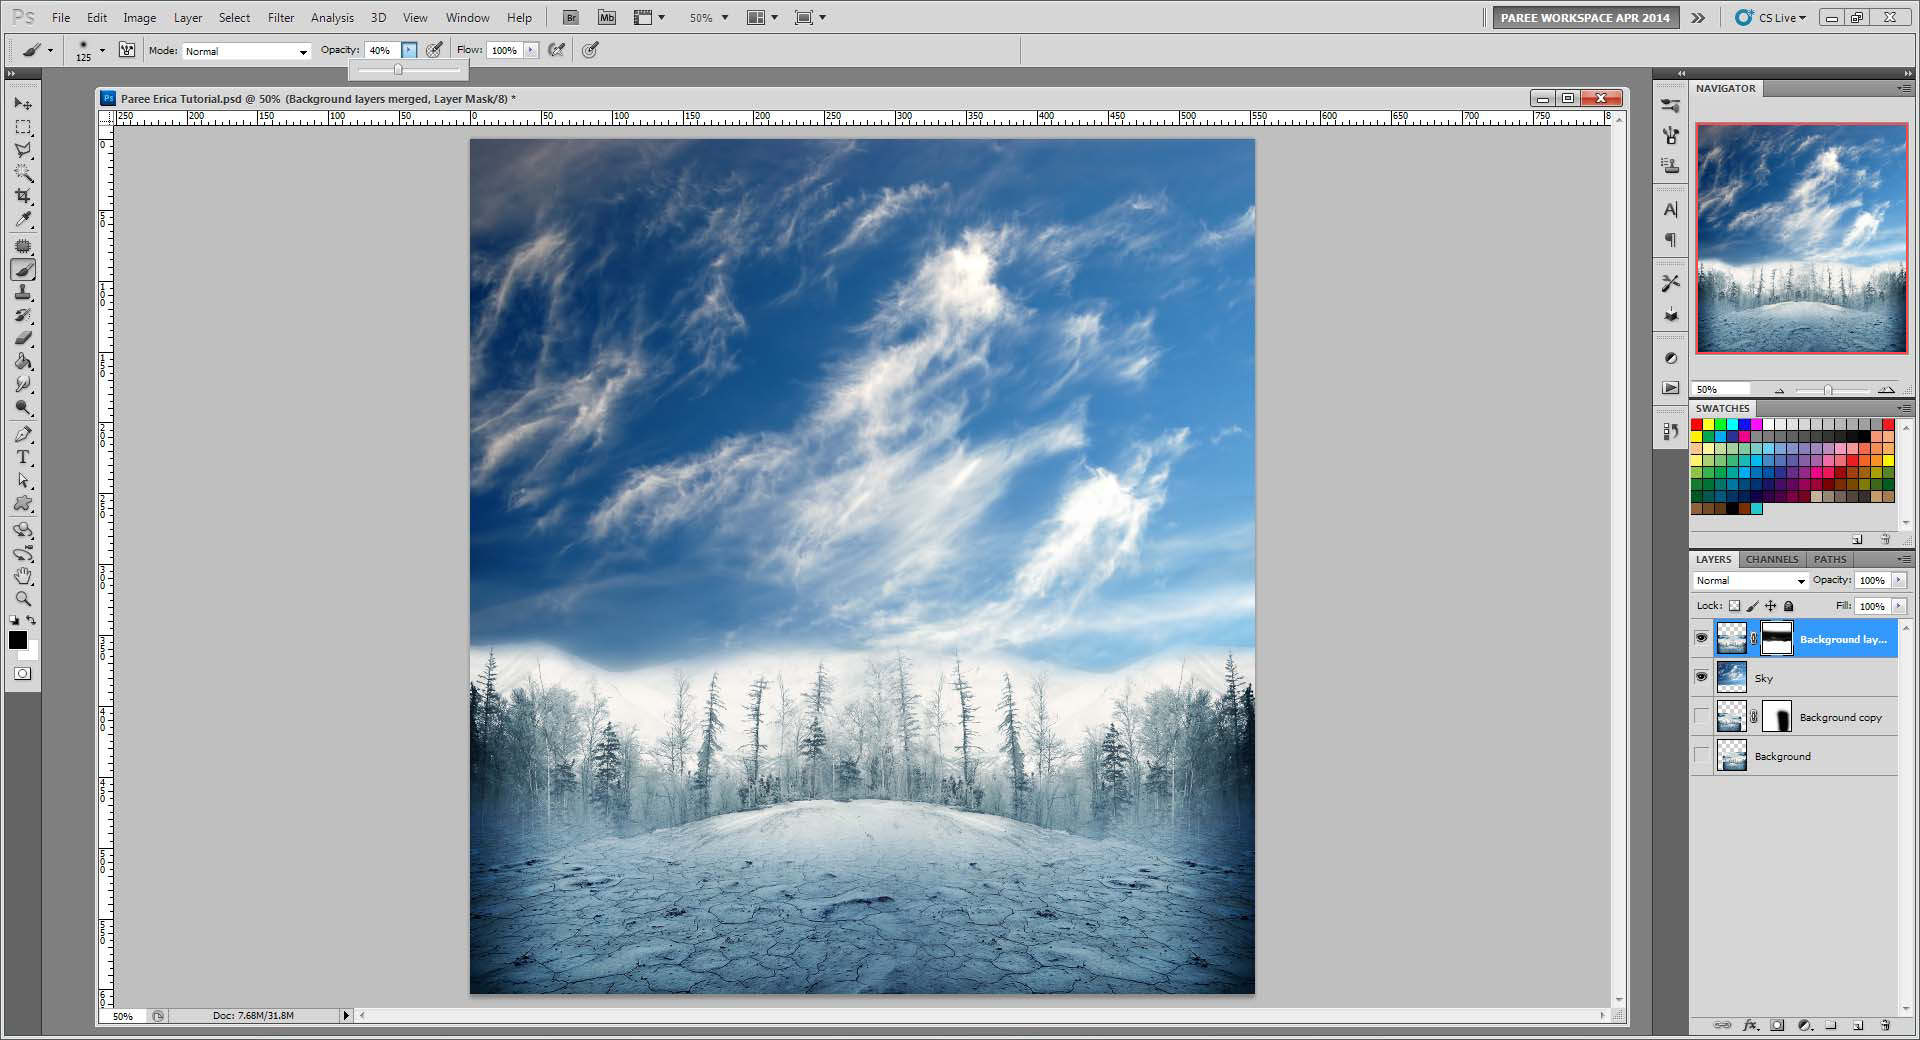
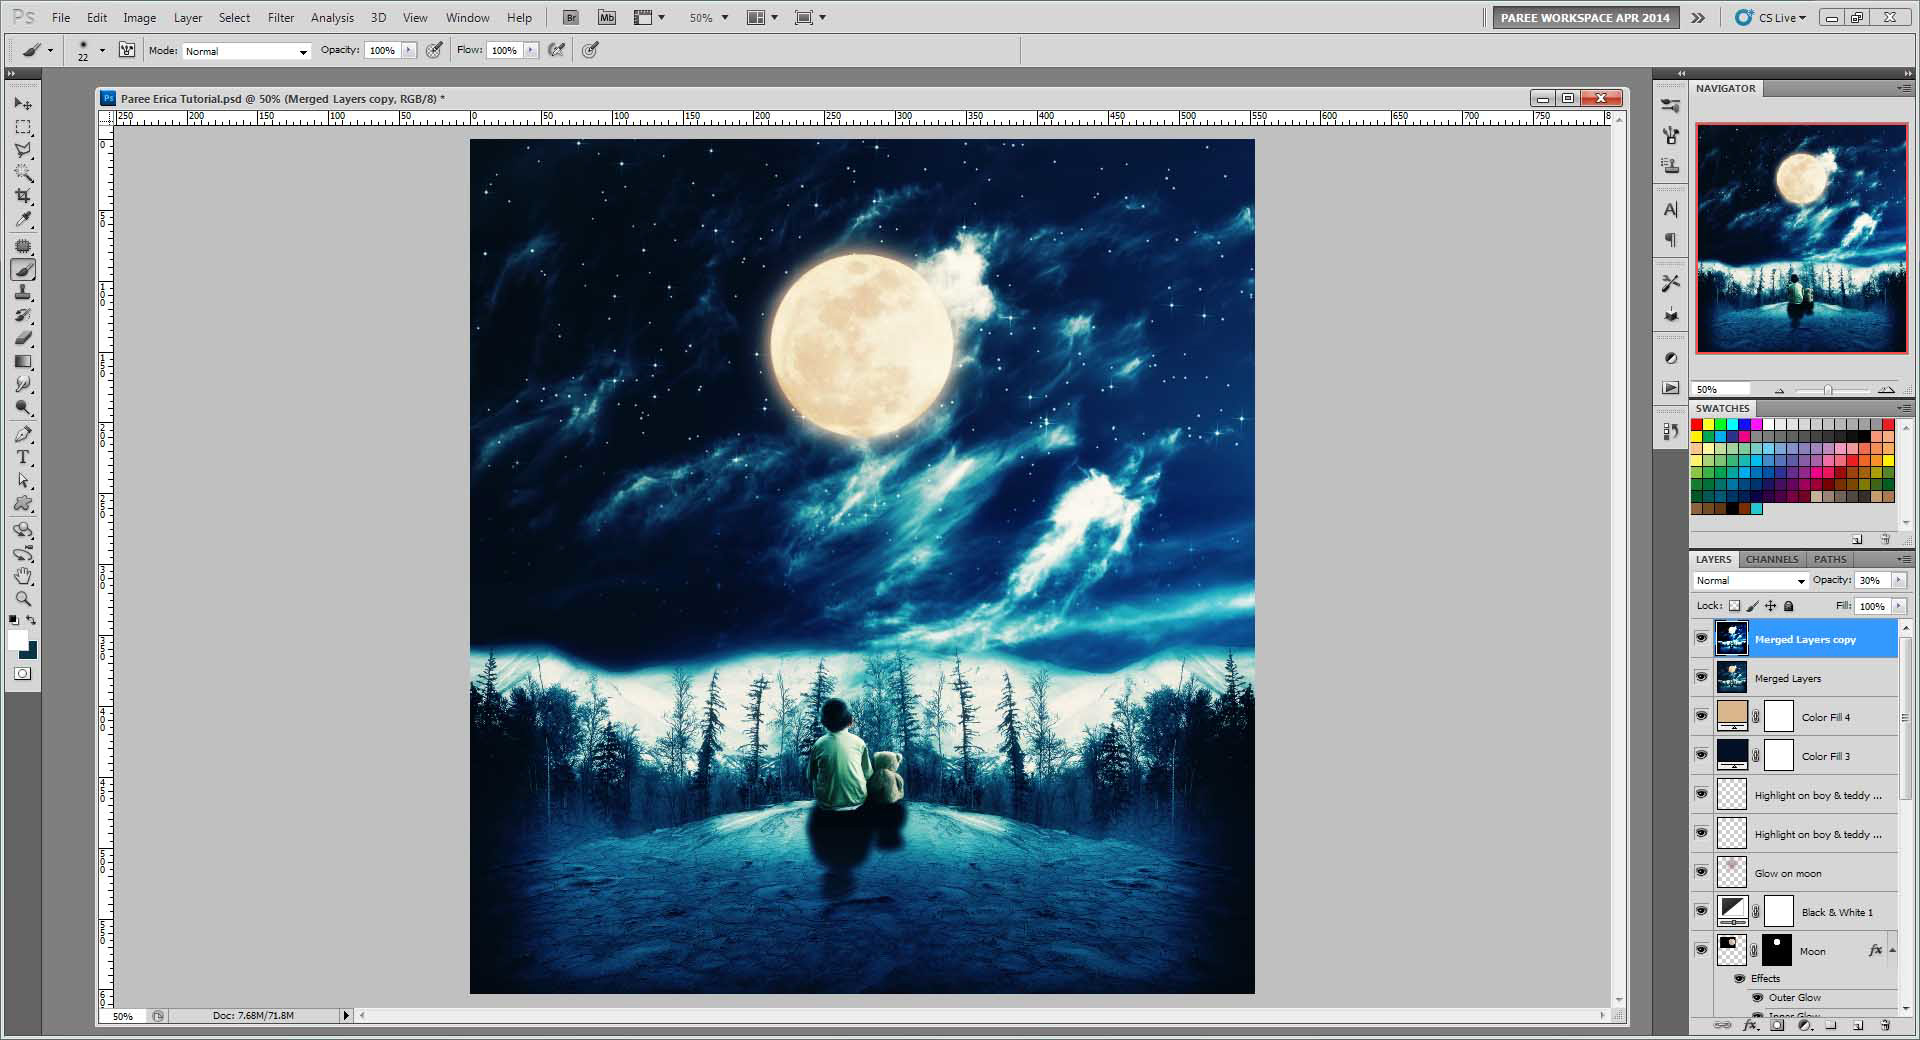
In this tutorial, Parée Erica shows us how to create a wonderful scene featuring a boy and his teddy bear looking up at the full moon. You will learn how to create a drop shadow, enhance lighting and blend a sky into an existing landscape.
This tutorial contains written steps with screenshots.
What you’ll learn:
- Merging and blending images to create a composite.
- Adding shadows.
- Selections and layer masks.
- Refining selections with the smudge tool.
- Color Grading using Solid Color Fill adjustment layers.
- Painting light.
- Adding atmosphere with B&W adjustment layers.
- Using Optic Verve Labs Virtual Photographer filters.
Access this tutorial, plus 143 more: Join Base Camp!
Access our entire library of Base Camp Photoshop tutorials for life!
Join Base Camp!Already a Base Camp or Summit Member? Log in to view this!
What a wonderful tutorial. I can’t wait to try it.
Thank you Sandra, I hope you enjoy it and learn some new techniques 🙂
Thank you for a great tutorial love the outcome. I have a query though…the software that was used ie Virtual Photographer is no longer available, is there a work around for this step?
Hi Lonnie
There is an effect that would give a similar sort of ambience to the overall image.
If you follow up to step 33 (where you merge all layers and duplicate the merged layer).
Then create another duplicate layer (so you will have 3 of the merged layers)
Hide your top layer, on the second top layer, apply a Gaussian Blur (Filter / Blur / Gaussian Blur). You want this quite strong, so perhaps around 20 to 30.
Then reduce the opacity of this layer to around 30% to 40%
Now unhide your top layer, make sure your foreground colour is set to black and your background colour is set to white.
Then apply a Diffuse Glow – go to Filter / Distort / Diffuse Glow.
Set the Graininess to 0 / Glow Amount 5 / Clear Amount 10
(you may need to find the levels that work best with your image)
Now reduce the top layer opacity to around 50% and you will have a soft ambience to your image.
Experiment with the levels & opacities of the layers to get just the amount of ambience you like.
I hope this is helpful. 🙂
Parée