Applying Selective Filter Effects

Applying filters within Photoshop to your images can really add a creative feel to your work. You have a huge amount of power in applying such effects. You can stack filters, vary the opacity, change the blend mode; the possibilities are endless once you start to combine these. Further, it is easy to forget that filters do not need to be applied to your whole image. So, in this mini tutorial I am going to show you an example of this ‘selective filter’ approach.
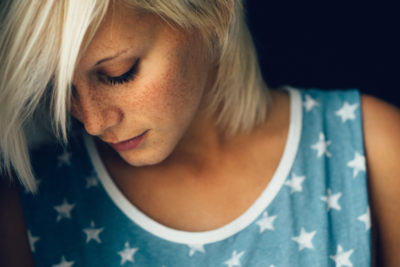
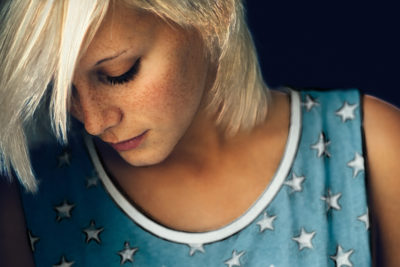
Before and after:
I will be using the image below, which is from Pixabay. Click here to download it for yourself.
One thing to note before I begin is that the Filters within Photoshop will only work if your image is 8 bit. If your image is 16 bit then you will need to convert it.
The Filters that are built into Photoshop can be accessed here:
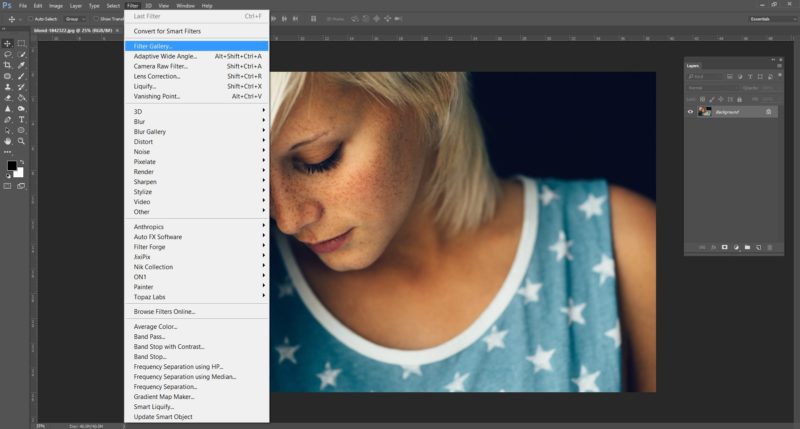
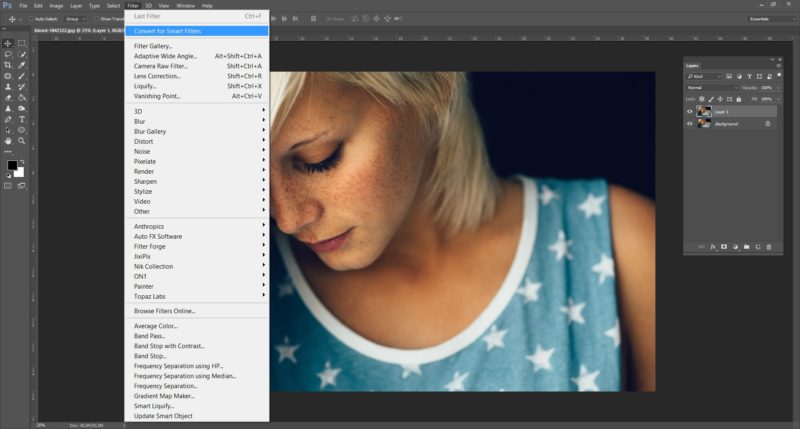
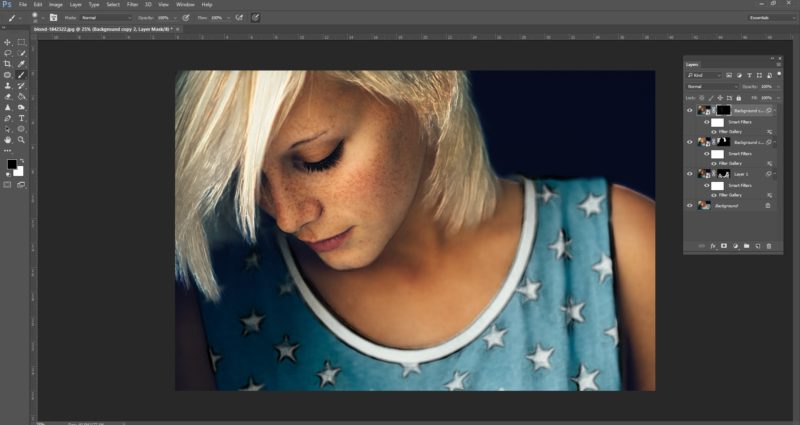
Duplicate your Background Layer. Although not necessary, I usually convert this new layer into a Smart Object by clicking on ‘Convert for Smart Filters’. This is a non-destructive approach; I can go back and double click on the filter and change parameters if I want to. If your layer is not converted you will not be able make any changes once you click ‘okay’ on the filter.
You will see that there are different sets of Filters: artistic, brush strokes, distort, sketch, stylize and texture. Under each of these menus are further effects. I am going to use Accented Edges, which is one of the Brush Strokes filters.
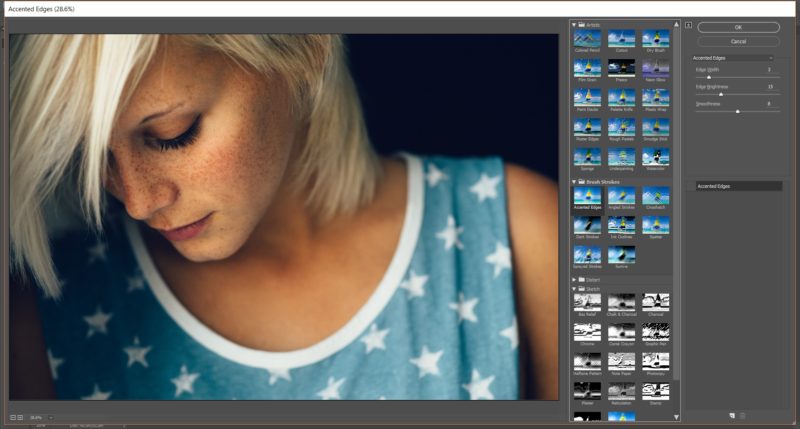
To start with I am going to adjust the filter parameters using the option sliders so that the stars on the woman’s clothing have a black outline. You can see that the effect is across the whole image.
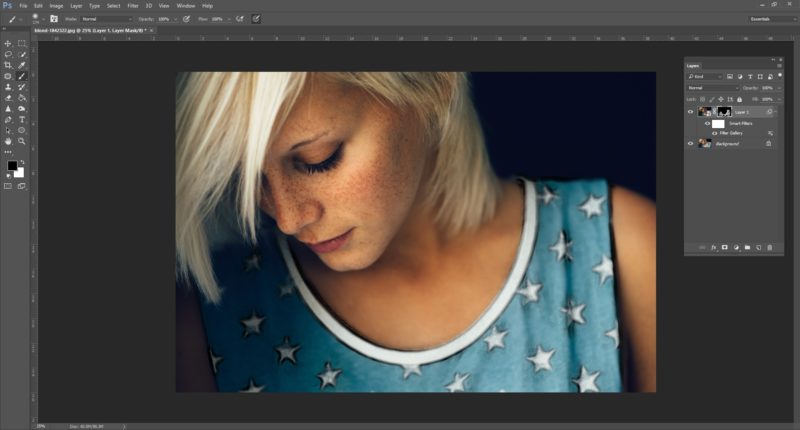
I only want the effect in certain areas so I have added a Layer Mask and inverted it, so that the mask is black. This essentially hides the layer. Using a white brush I can then paint in the areas that I want the filter to show through.
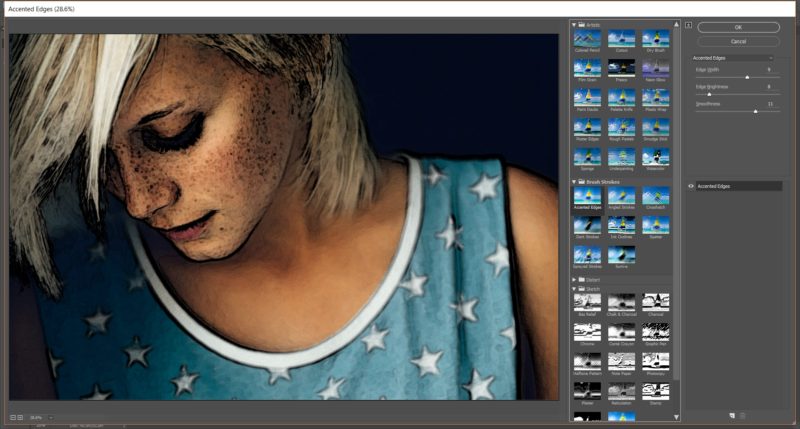
Next I am going to add some bright outlines on the woman’s hair. So I am going to duplicate the Background Layer again, bring this layer to the top and convert it into a Smart Object, as above. At this stage, this top layer is visible, hiding the work below.
When I open the Filter Options I am going to increase the brightness of the edges.
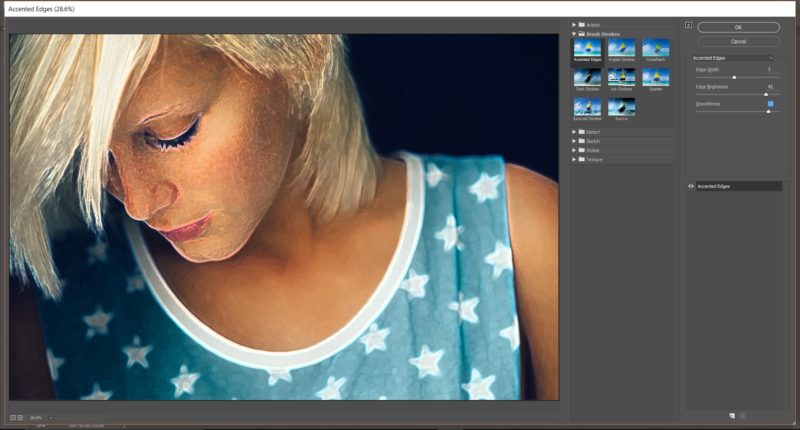
After I click ‘Okay’ this filter shows across the whole image. So, as before, I am going to add a Layer Mask and invert it. Since I am going to be painting in this new filter effect on different areas from the previous Layer Mask, each effect will be stacked over the original, Background layer.
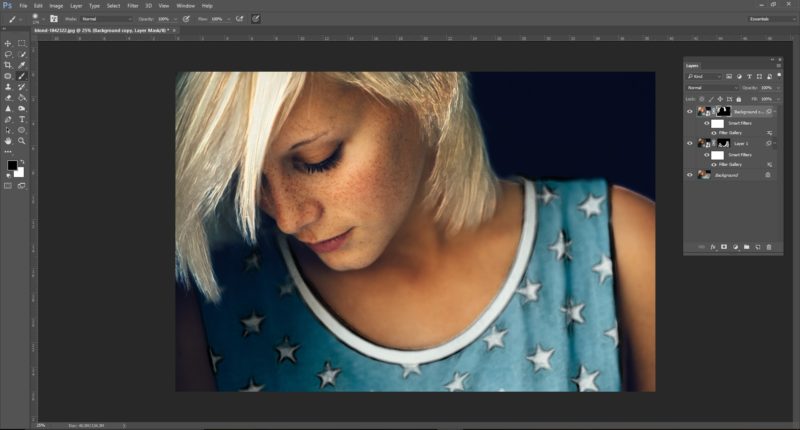
On a 3rd duplicated, smart object layer, I am now going to apply a Poster Edges filter (which is in the Artistic menu).
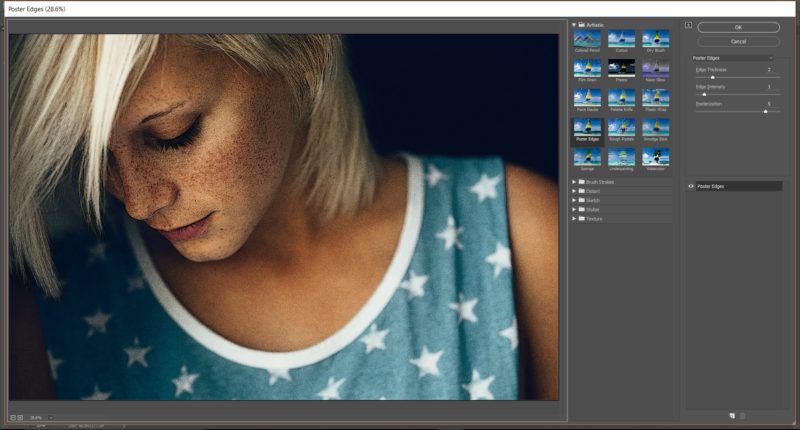
Using a much smaller, white brush on an inversed Layer Mask I am just going to select a few areas to bring attention to (for example her eyelashes and faint outlines of her face).
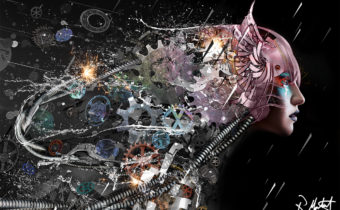
The example here is a very simple one but this is a technique I use a lot in my more complex artwork. You can see this in Time Traveler, Adventure Playground for the Twisted, and the soon to be released The Point of Decision.
Also note: You can use selective masking of filter effects from plug-ins as well. Don’t forget to experiment with opacity, blend modes and even blur effects.
Access this tutorial, plus 143 more: Join Base Camp!
Access our entire library of Base Camp Photoshop tutorials for life!
Join Base Camp!Already a Base Camp or Summit Member? Log in to view this!

Bonjour. Je m’aperçois que j’utilise peu souvent les filtres mais cet exemple me donne envie de m’en servir plus souvent.
Caroline, merci pour la démonstration bien expliquée et illustrée.
Thank you so much. This will be very helpful.
Good idea for changing things up a bit. I like it. Thank you.
I just started the tutorial “Applying Selective Filter Effects”. I clicked on the link to get the image, but it is not there. Can you fix that?