Making Snow and Rain

In this article I am going to show you a quick way to create snow and rain in Photoshop.

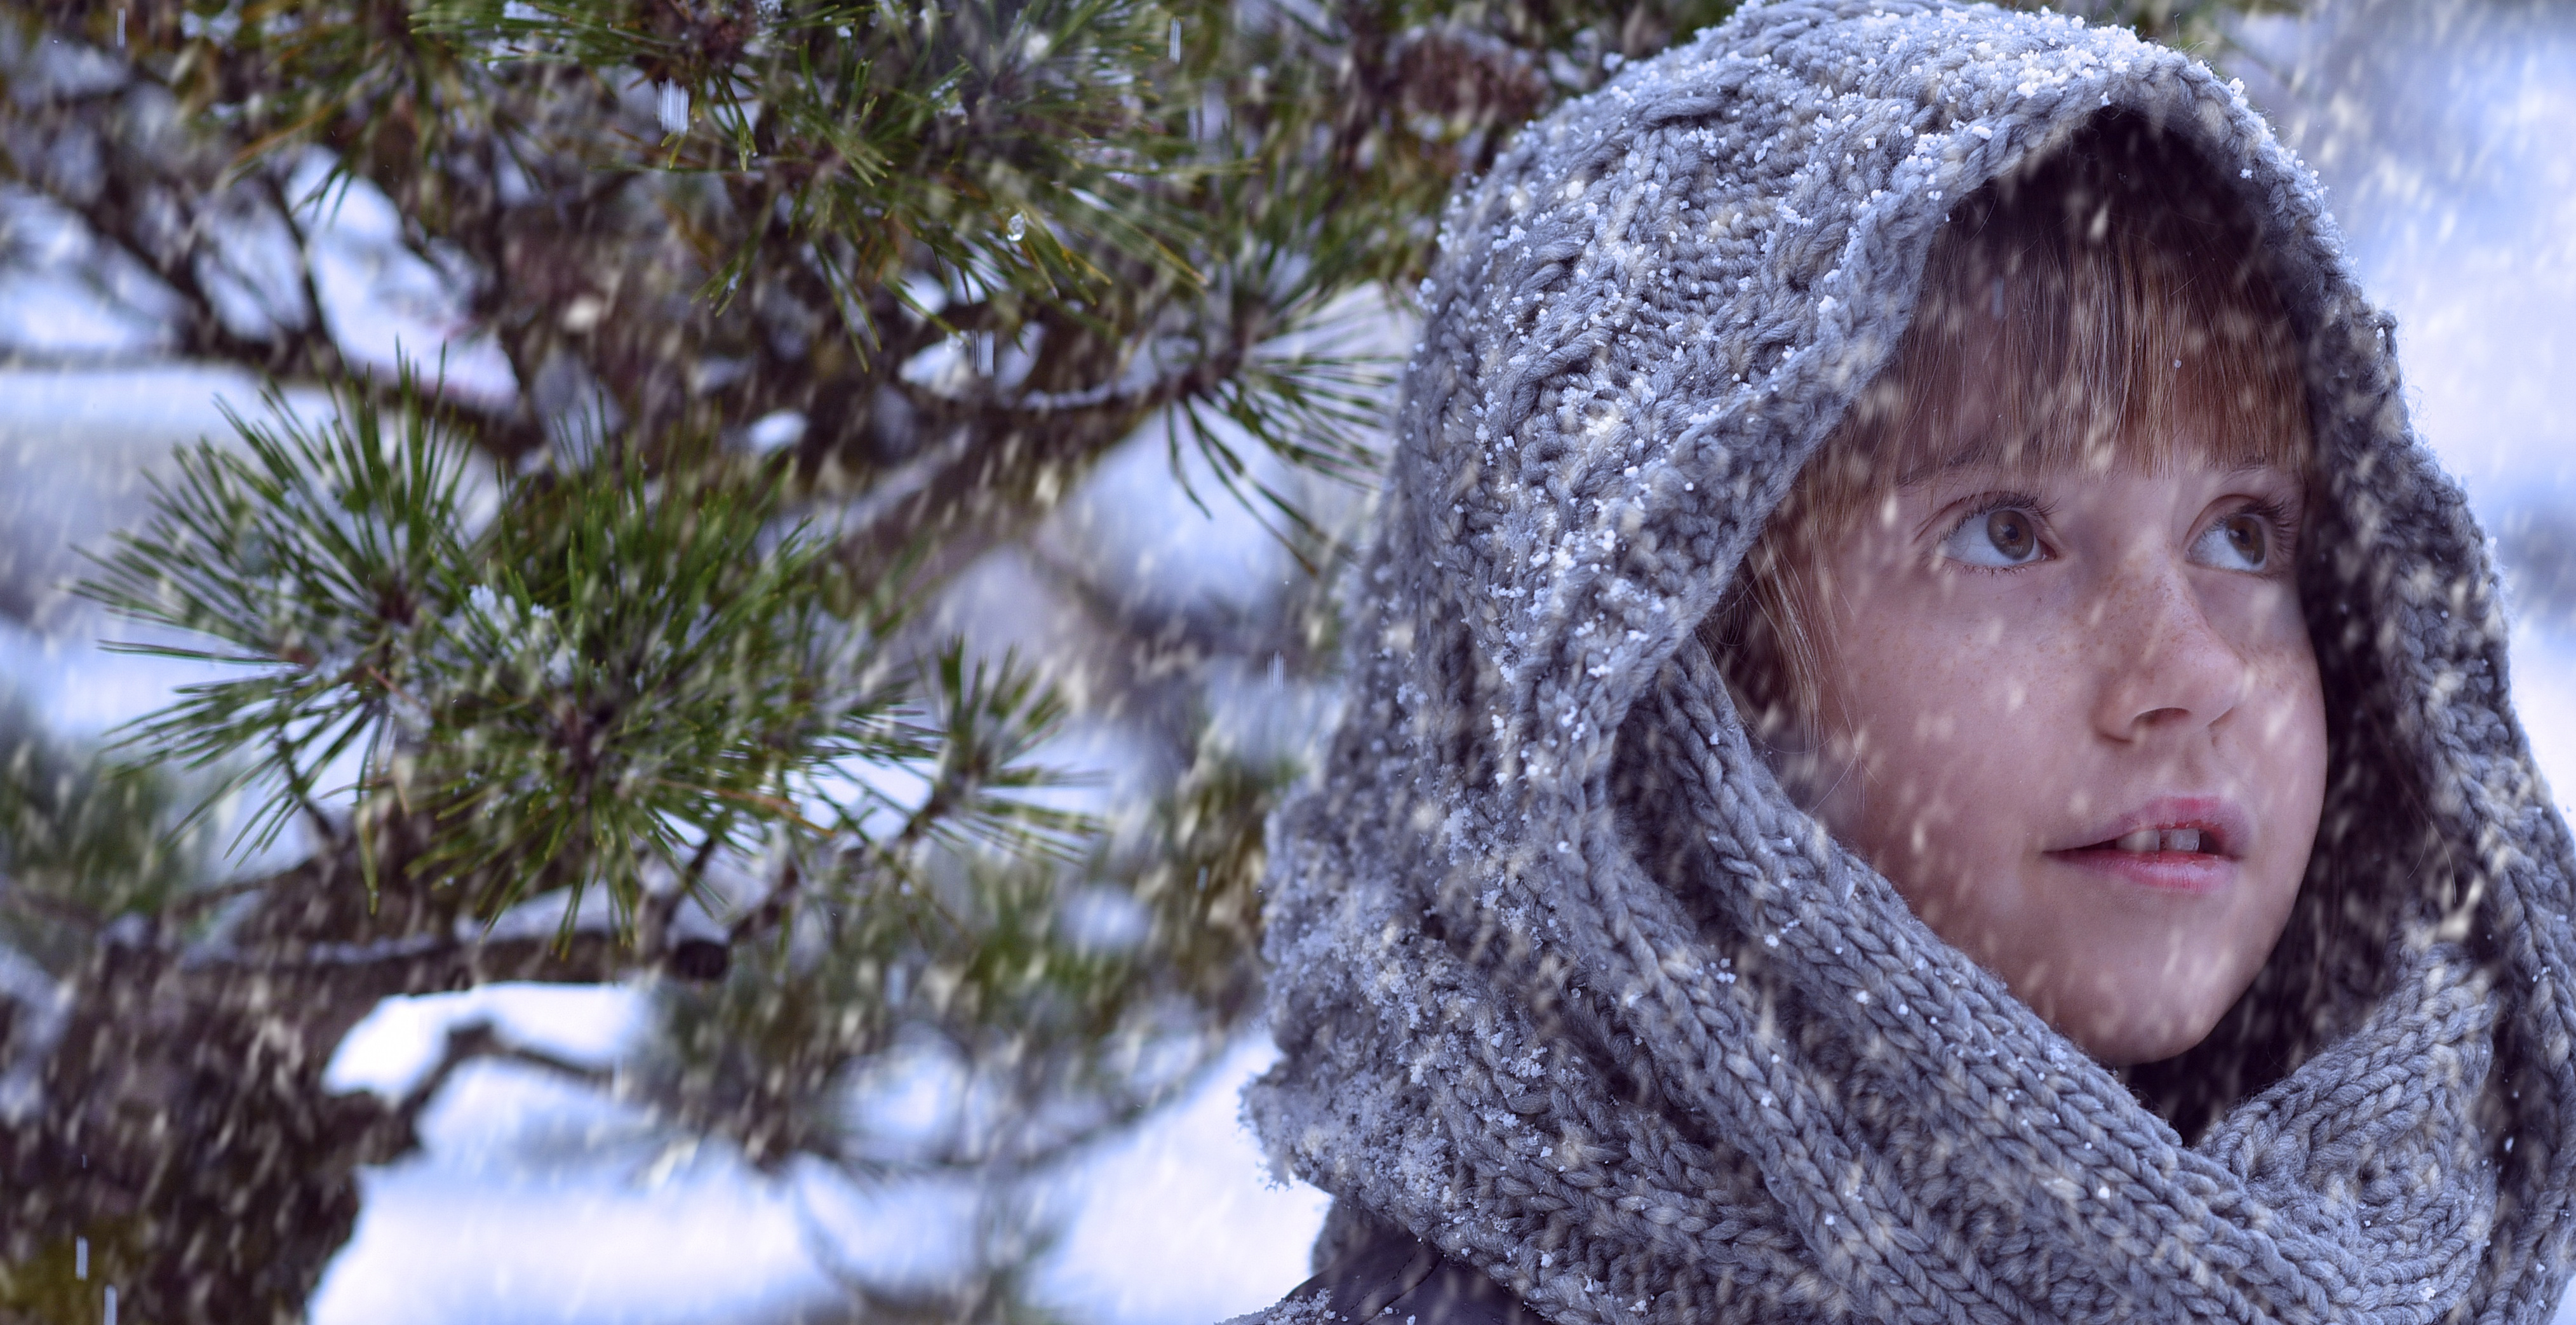
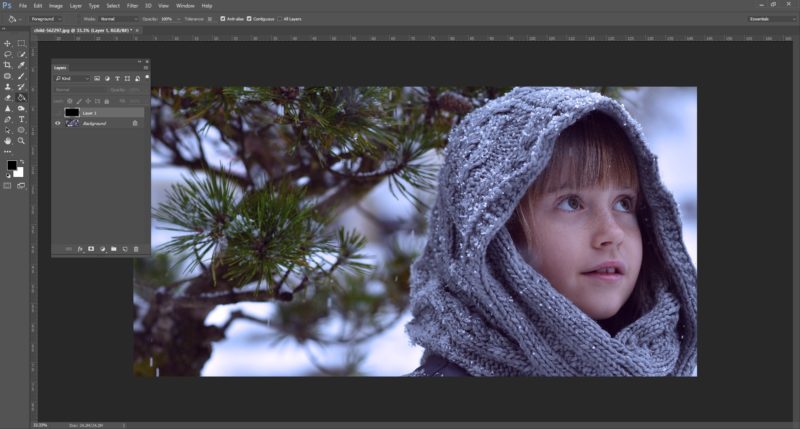
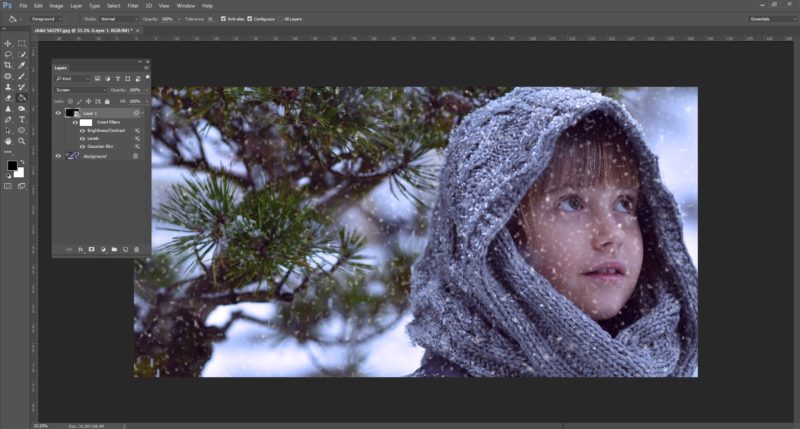
Let’s start with the image below, which is from Pixabay. You can download it yourself here.
Add a new layer and fill with black.
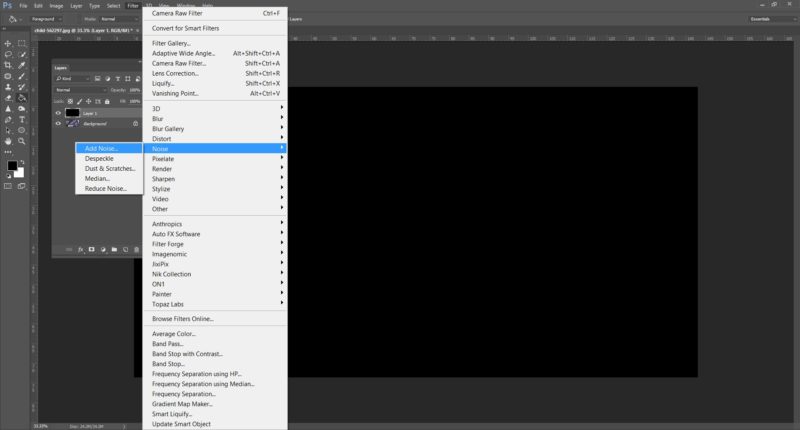
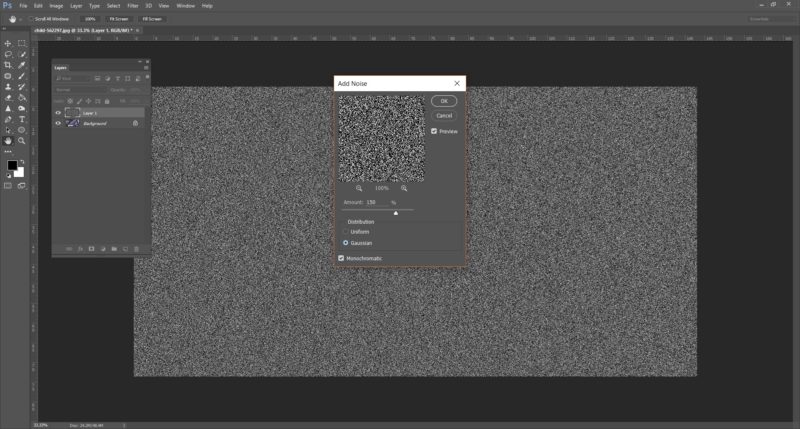
Go to the Filter Menu, Noise, Add Noise.
Select Monochromatic option (since we only need black and white) and Gaussian. Set the Noise Amount to about 150%
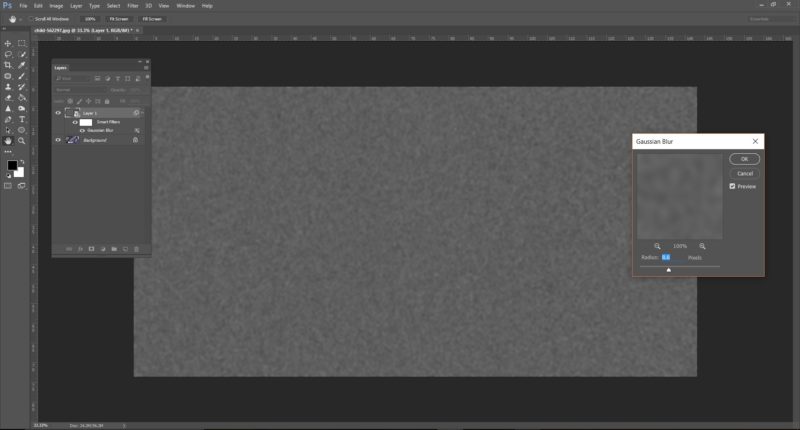
Staying on this layer, go to the Filter Menu and select Convert For Smart Filters. This will allow the effects applied to the layer to be viewed and modified. So, the steps we will apply next are non-destructive. Open up the Filter Menu again and select Gaussian Blur. I have chosen to start with a blur of 8.6 on this image but you can try other values (in essence, the larger the blur the bigger the snow).
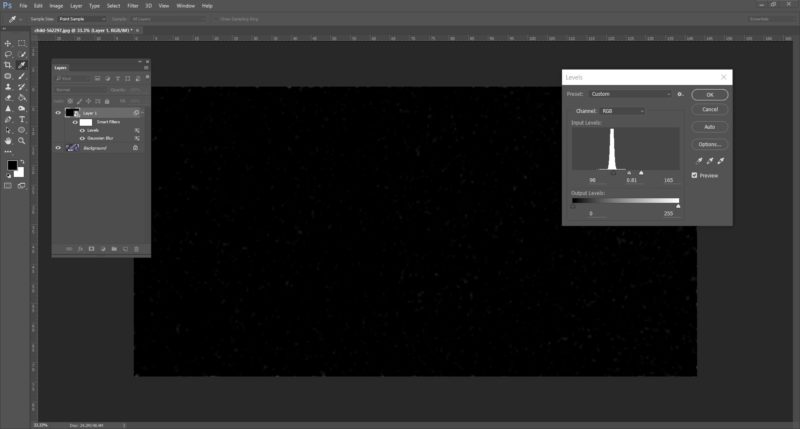
Whilst still on this layer, open the Image menu option, select Adjustments and then Levels. Move the pointers beneath the histogram so that the white pointer on the right moves in closer to the right hand edge of the end of the histogram slope. Move the black pointer on the left further in toward the center. You will see that the noise is reduced and white specks become more defined against the black.
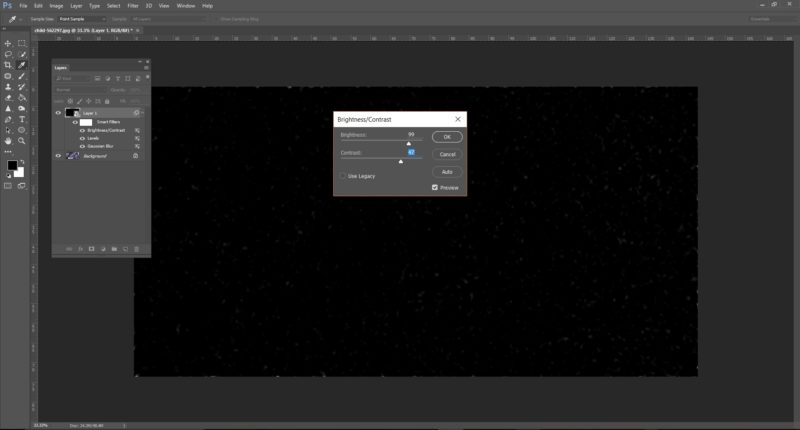
If you want to increase the strength of the white, go to Image then Adjustments and Contrast/Brightness.
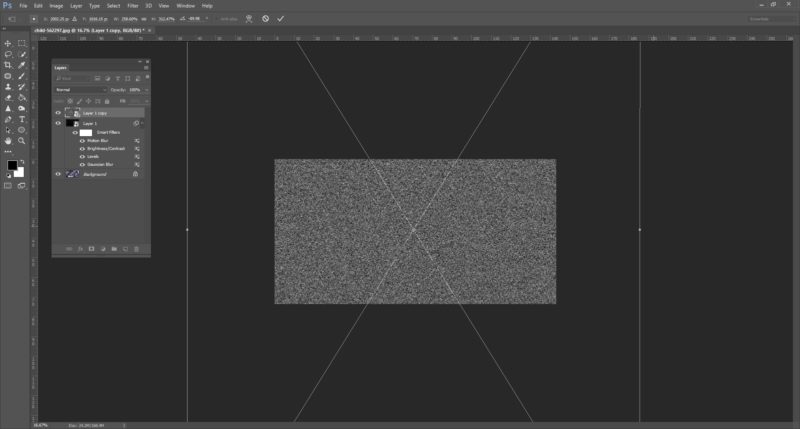
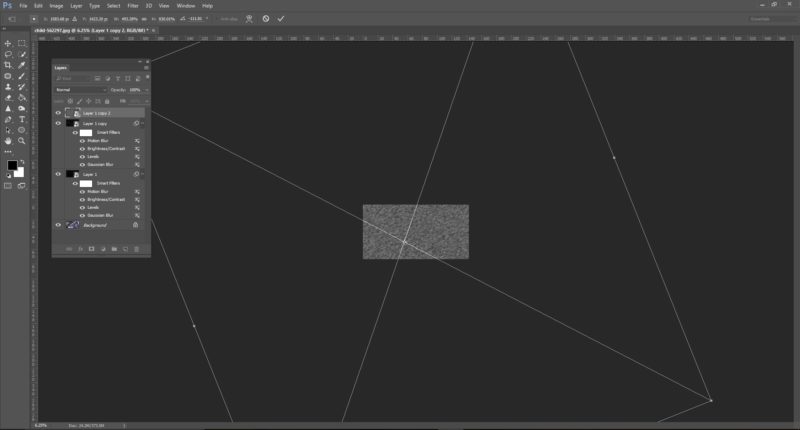
If you want to enlarge the size of the snow you can adjust the size of the Gaussian Blur. However, I find it easier to enlarge the layer by using Ctrl T to Transform and then dragging the selection to the desired size. Since we are working on a Smart Filter, Photoshop switches off the other effects whilst Transforming so the selection will look a little odd until you click return to confirm your resizing.
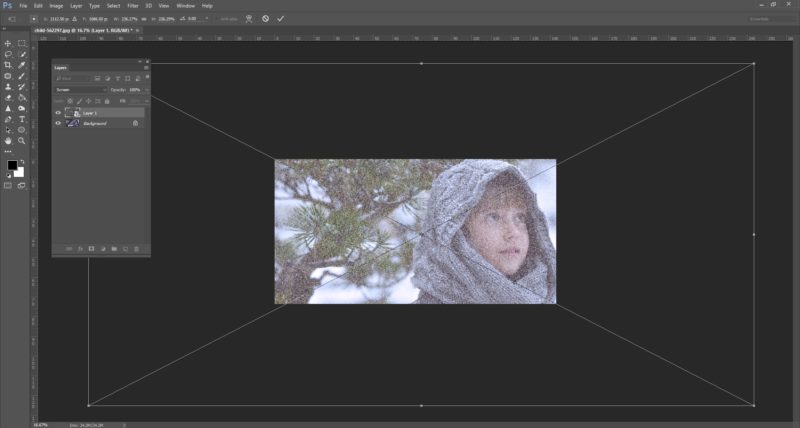
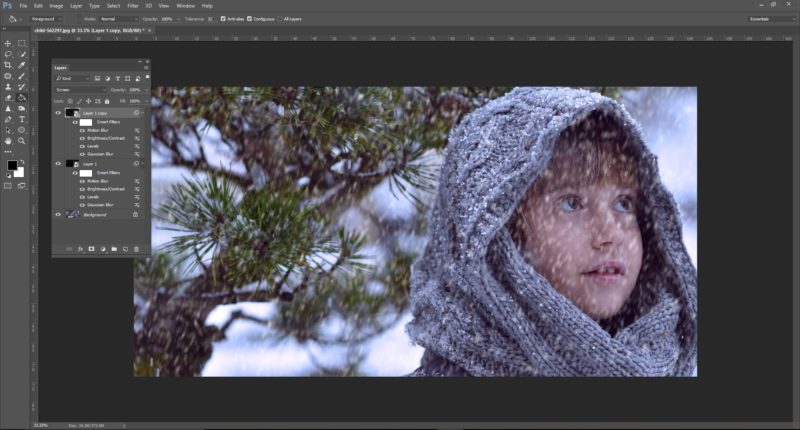
Set the Blending Mode to Screen to knock out the black.
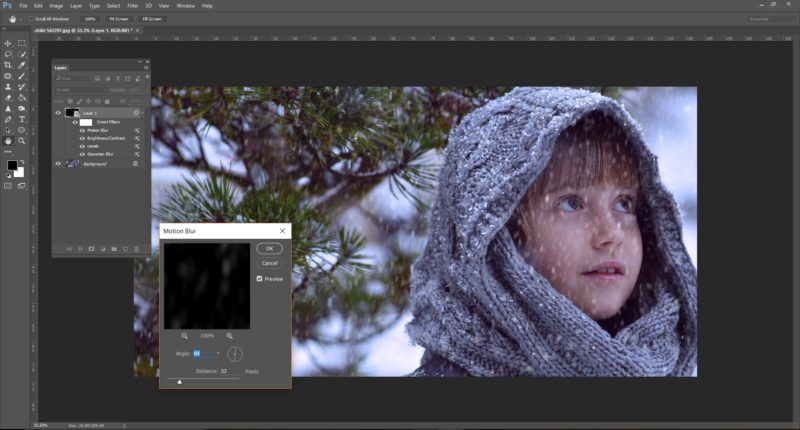
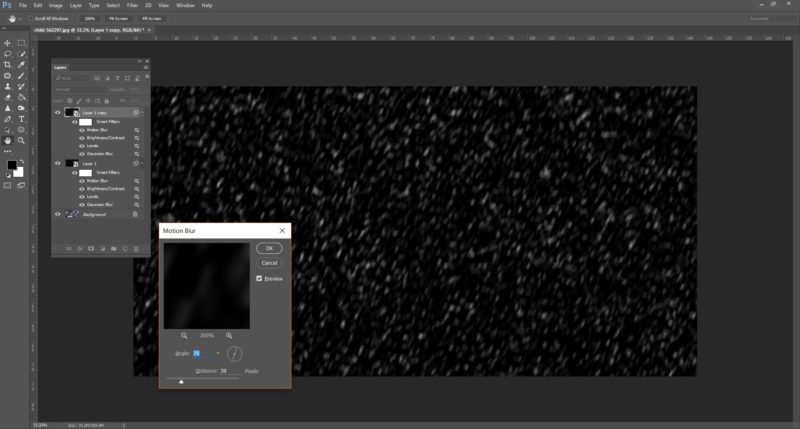
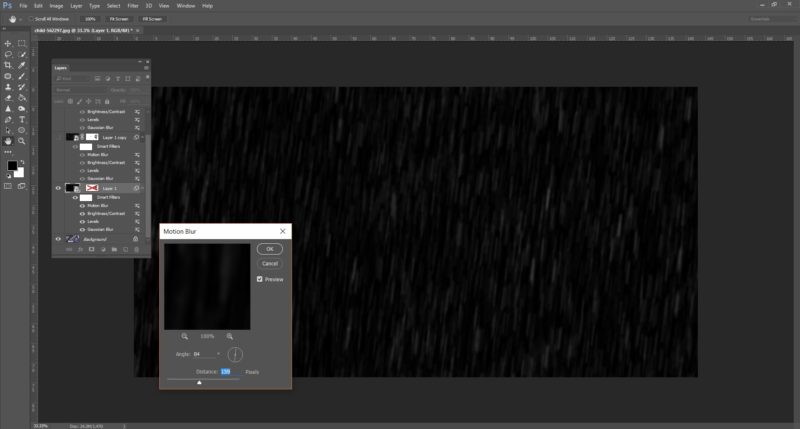
To make the effect a little more realistic go to the Filter Menu and select Motion Blur. Alter the Angle and add a small Distance.
Since snow differs in size and direction we are going to add a couple more Layers, altering these parameters. Duplicate the Layer by pressing Ctrl J. Since the layer was a Smart Filter Layer, all of the effects have also been duplicated and can be modified independently.
On the first duplicate Layer, I rotated the layer using Transform and make it even bigger.
The I altered the Motion Blur (to change the different effects double click and the relevant Options box will appear).
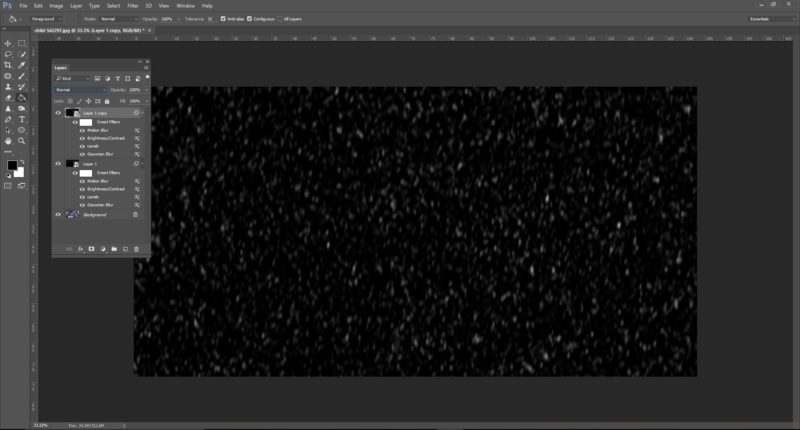
Here you can see the 2 snow layers (set to Screen Blend Mode) stacked on top of the Background photo.
Next I duplicated the Layer again and this time made it much bigger. Instead of altering the angle of snow fall using Motion Blur, I rotated the positioning of the Layer using Transform.
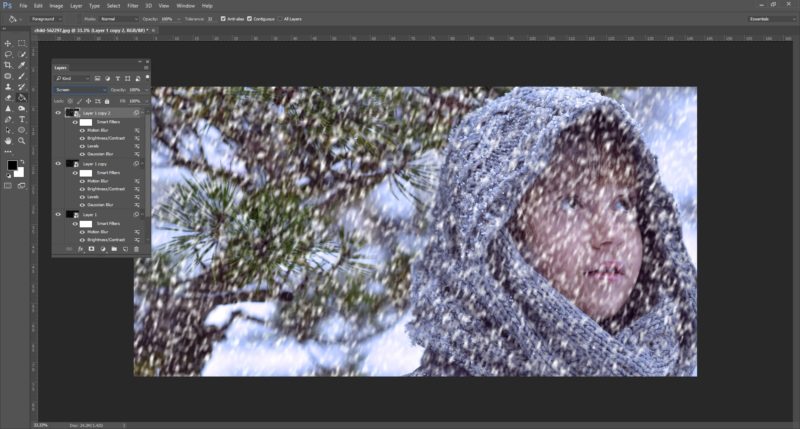
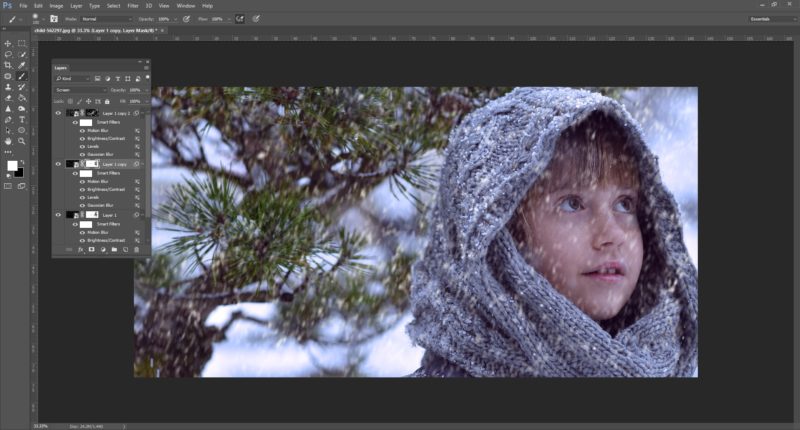
This is the combined effect of all three Layers.
So far, it looks very much like a strong snow blizzard. You can alter the density of snow using Layer Masks and painting away areas you don’t want. You can see in the screenshot that one of the Layer Masks was Inversed and the areas were painted back in using a white brush. As a general rule I will use a white mask when I want to remove some of the effect and a black mask when I want most of the effect gone.
Making rain, rather than snow is easy. All you need to do is to increase the angle of Motion Blur.
Do this for each of your layers and vary the extent of the angle on each. So there you have it; you have generated your own weather!
Access this tutorial, plus 143 more: Join Base Camp!
Access our entire library of Base Camp Photoshop tutorials for life!
Join Base Camp!Already a Base Camp or Summit Member? Log in to view this!


Leave Comment